Embed Methods
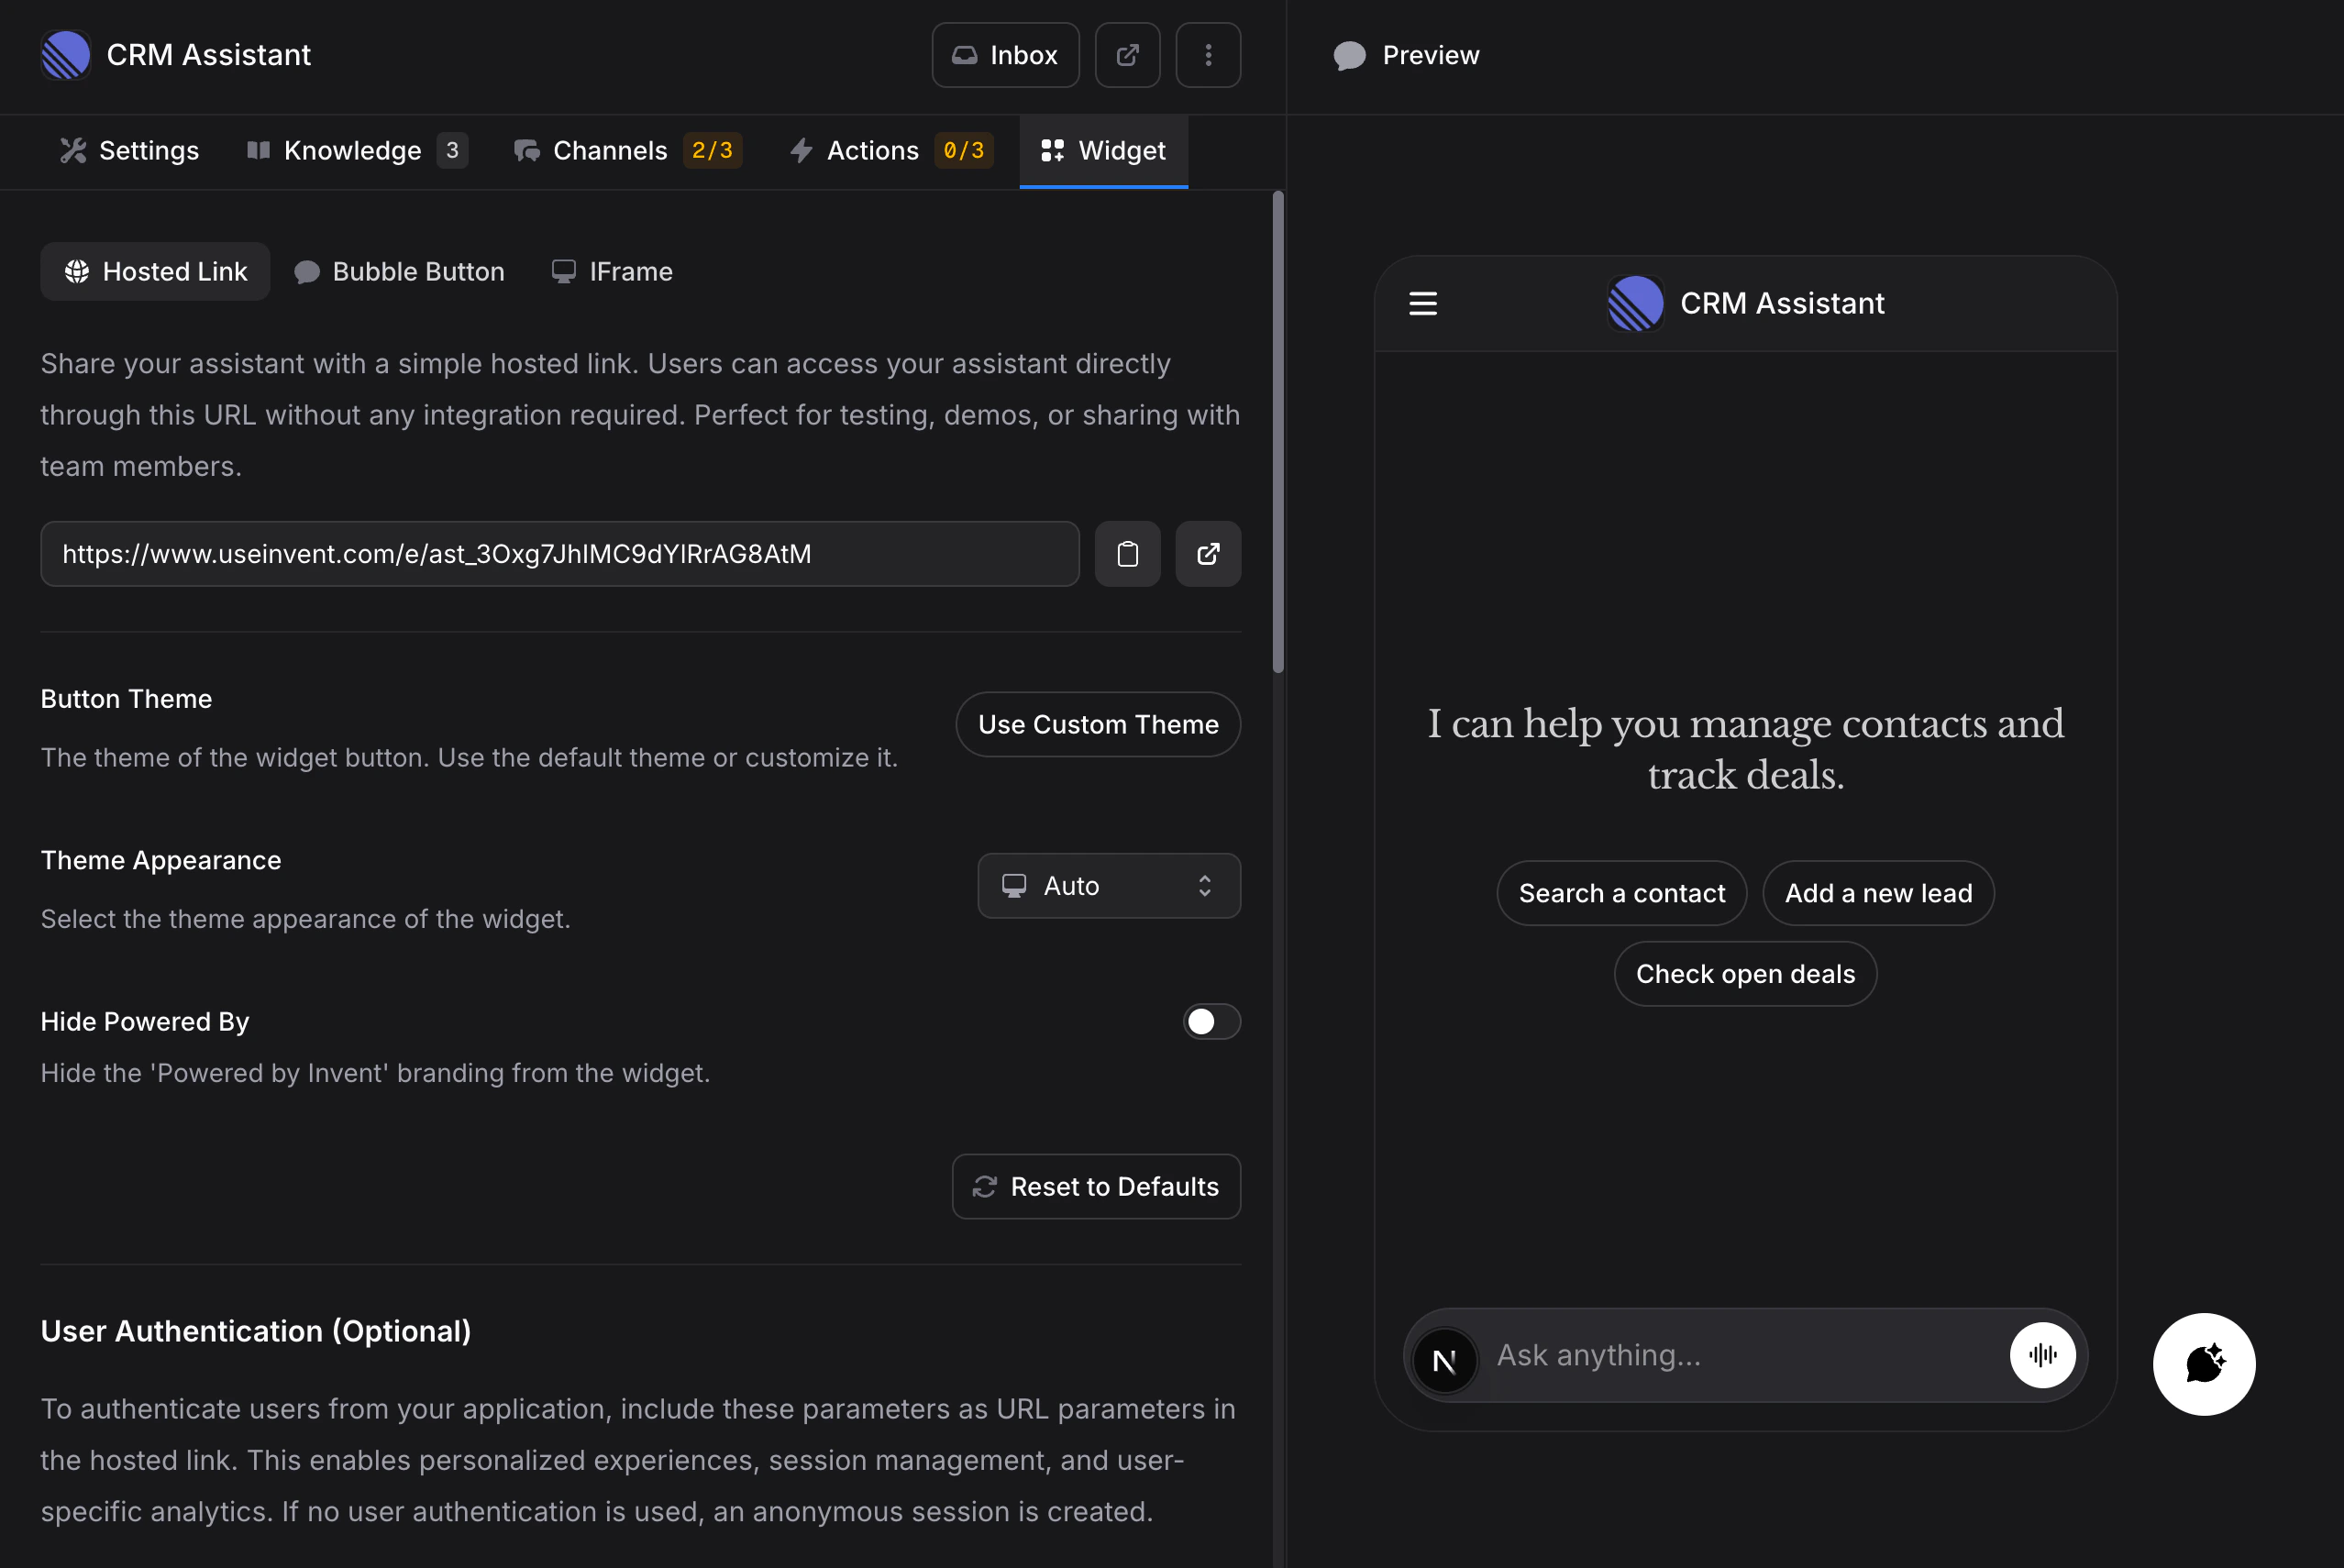
The Widget tab has four options for deploying your assistant:Hosted Link
A shareable URL that opens your assistant in a standalone page. No code or integration required.Bubble Button
An HTML snippet you paste into your website. This adds a floating chat bubble in the corner of your page that customers can click to open a conversation.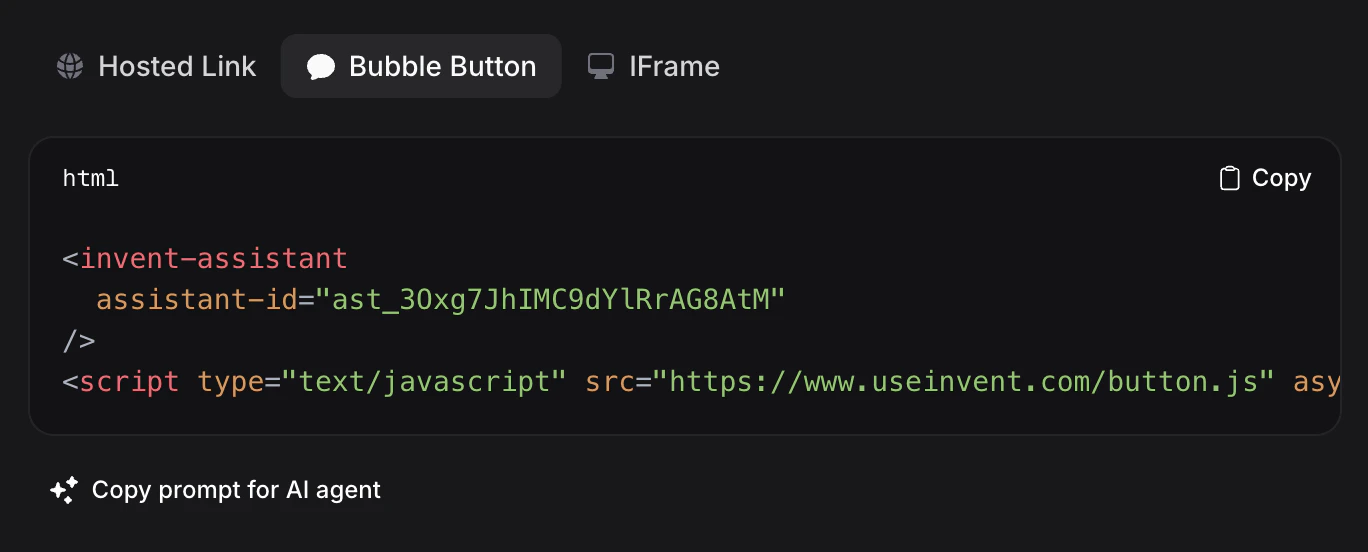
</body> tag on your website. The bubble appears immediately.
For platform-specific setup guides (WordPress, Shopify, Next.js, Webflow, and more), see the install guides below.
IFrame
An inline embed that displays your assistant directly within a page, rather than as a floating bubble. Use this when you want the assistant to appear as part of your page layout.
Customization
All embed methods share the same customization options. Changes are reflected in the live preview on the right.Button Theme
Toggle between the default theme and a custom theme. When using a custom theme, two additional options appear:- Button Background Color: The background color of the chat bubble button
- Button Foreground Color: The foreground (icon) color of the chat bubble button
Theme Appearance
Controls the color scheme of the chat widget:- Auto: Matches the user’s system preference (light or dark)
- Dark: Always uses the dark theme
- Light: Always uses the light theme
Hide Powered By
Toggle this on to remove the “Powered by Invent” branding from the widget.Removing “Powered by” branding requires a Business or Enterprise plan.
Reset to Defaults
Click Reset to Defaults to restore all customization options to their original settings.User Authentication (Optional)
By default, every visitor gets an anonymous session. To identify users and enable personalized experiences, conversation history across sessions, and contact management, add authentication attributes to the widget.Authentication Attributes
| Attribute | Description |
|---|---|
user-hash | Required for authentication. HMAC-SHA256 hash of the user-id using your assistant’s secret key. Must be generated on your backend |
user-id | The unique user identifier from your application. Used for session management, analytics, and maintaining conversation history across sessions |
user-name | Display name for the user (full name, first name, username, etc.). Used for personalization in chat messages and contacts. URL-encode special characters |
user-avatar | URL to the user’s avatar image. Displayed in chat messages and contacts. Must be a publicly accessible HTTPS URL |
user-hash and user-id are required together. user-name and user-avatar are optional.
Setting Up Authentication
Generate a Secret Key
Scroll to the Secret Key section at the bottom of the Widget tab and click Generate Secret Key. This creates a unique key for your assistant.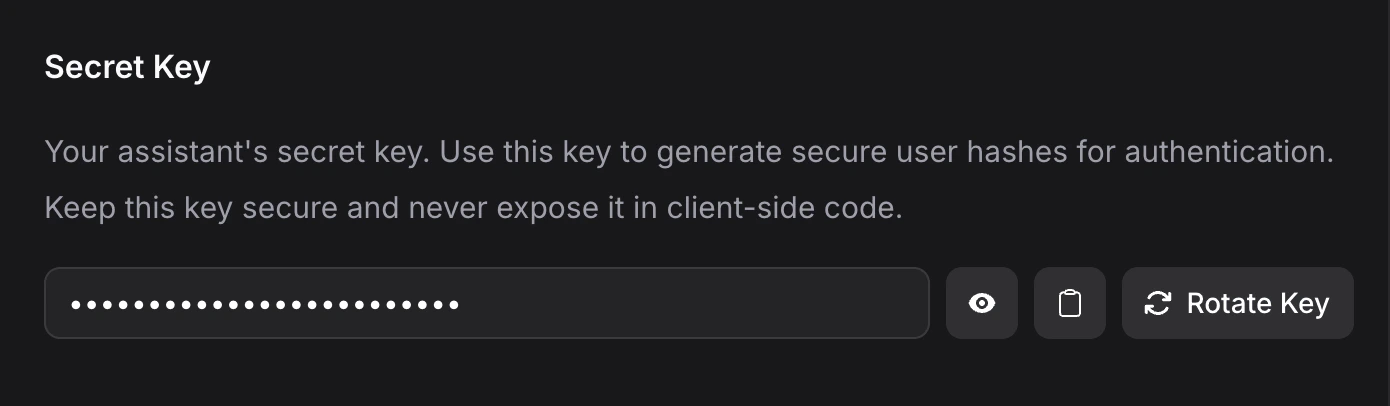
Generate the User Hash on Your Backend
Use the secret key to create an HMAC-SHA256 hash of the user’s ID. Here is an example in Node.js:
Install Guides
Step-by-step setup guides for popular platforms and frameworks.Frameworks
Next.js
Remix
Nuxt
Gatsby
SvelteKit
Astro
Content Management
WordPress
Webflow
Contentful
Ghost
Drupal
Joomla
Website Builders
Framer
Wix
Squarespace
Weebly
E-commerce
Shopify
Next Steps
Channels
Connect your assistant to WhatsApp, Instagram, Messenger, and other messaging platforms
Agents
Hand off conversations to human teammates when needed