

SSO Profiles require a Business or Enterprise plan. View plans
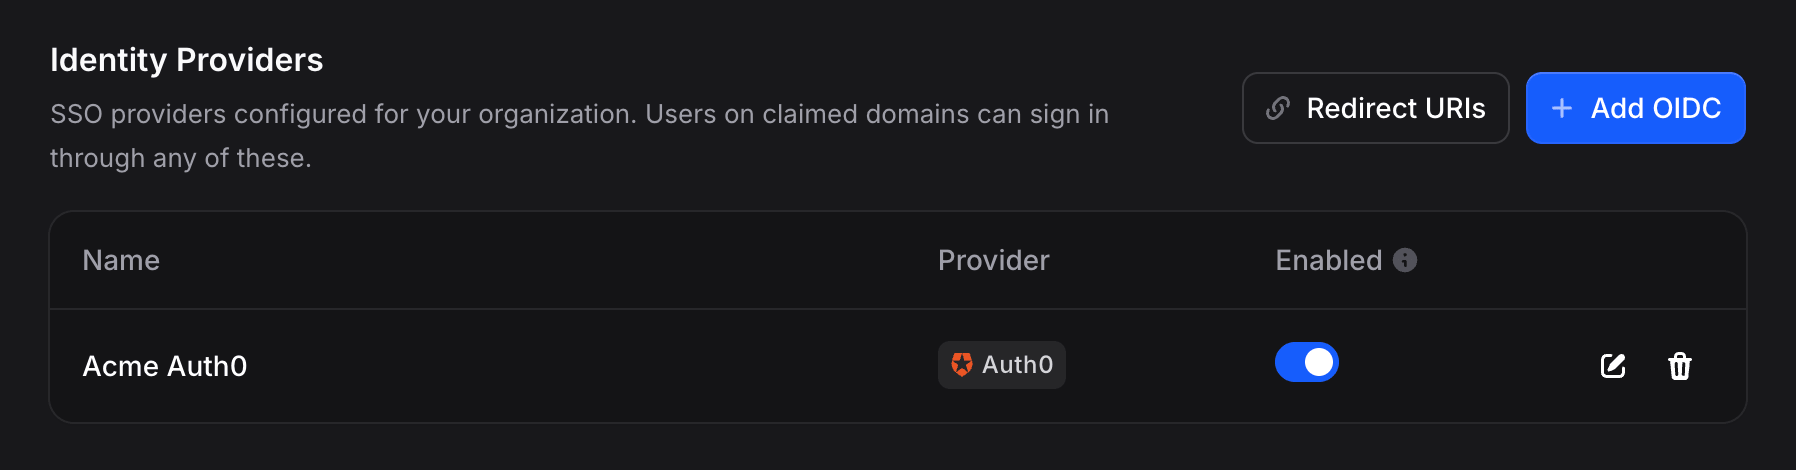
The Profiles Table
Before You Start
Two prerequisites must be prepared before creating a profile inside Invent:- An OIDC application inside your identity provider (Okta, Entra ID, or another supported vendor). After creating it, you will receive three values:
- Issuer URI: the base address of your identity provider with no path (for example,
https://acme.okta.com). - Client ID: the public identifier of the OIDC application.
- Client Secret: the secret credential of the OIDC application. Treat this like a password.
- Issuer URI: the base address of your identity provider with no path (for example,
- Invent’s redirect URIs registered on the OIDC application. See the section below for where to find them.
Redirect URIs
Your identity provider needs to know which URLs it is allowed to redirect users to after they authenticate. In Invent, click the 🔗 Redirect URIs button at the top of the Identity Providers section to open a dialog listing every redirect URI that applies to your organization.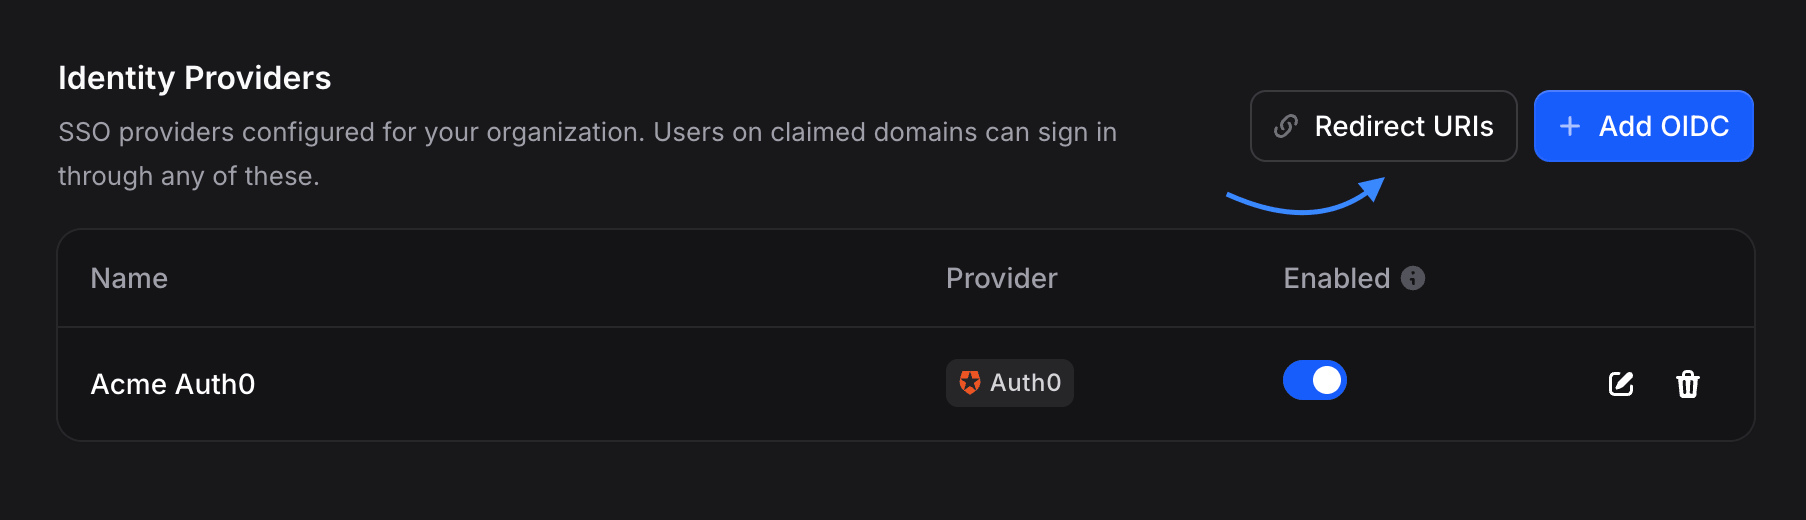
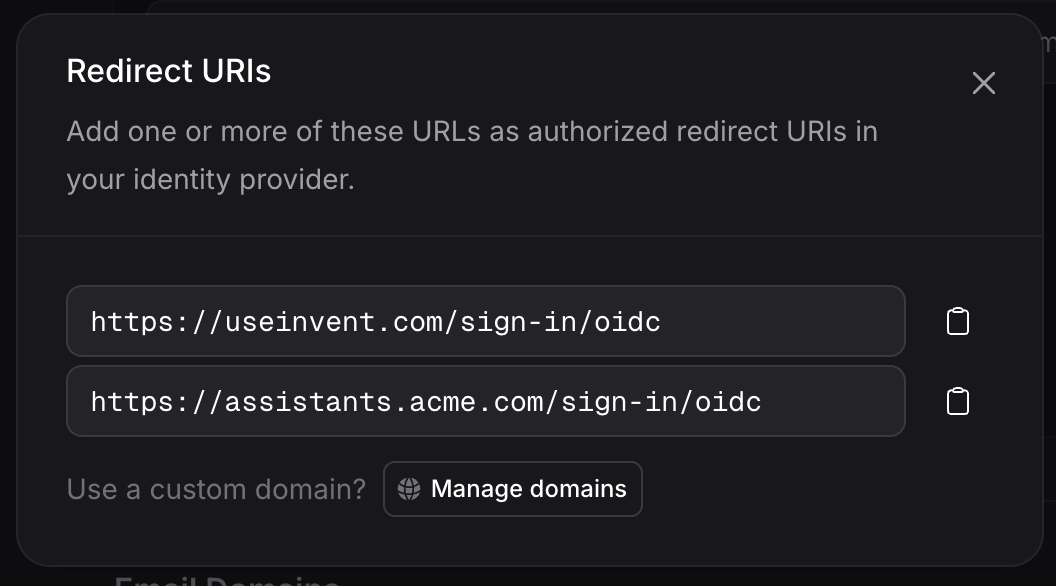
/sign-in/oidc redirect URI. Invent generates and accepts these redirect URIs dynamically on all of your hostnames, so no additional configuration is required on the Invent side.
On the identity-provider side, you can register as many or as few of these redirect URIs as you like:
- Register all of them for maximum flexibility. Users will be able to complete the sign-in flow from any of your Invent hostnames, including any new custom domains you add later.
- Register only one if you want to lock sign-in to a single whitelisted hostname, for example your primary whitelabel domain.
Some identity providers only allow a single redirect URI per OIDC application. This is a limitation of the identity provider, not of Invent. If yours is one of them, pick the hostname your users will sign in through and register only that URI.
The Manage domains button inside the Redirect URIs dialog navigates directly to Settings → Domains, where custom domains are added. Once a new custom domain is verified, it is automatically added to this dialog as a new redirect URI on your next visit.
Creating a Profile
- Go to Settings → SSO → Identity Providers.
- Click Add OIDC.
- Fill in the form:
- Display name: the label shown in the provider picker on the sign-in page (for example, “Acme Okta”).
- Domain, Issuer URI, or Well-Known URL: the base Issuer URI of your identity provider. The full
.well-known/openid-configurationURL can also be pasted here; Invent will strip the well-known suffix automatically and upgradehttp://tohttps://before storing it. - Client ID: from your identity provider’s OIDC application.
- Client Secret: from your identity provider’s OIDC application. The value is encrypted at rest and is never returned in API responses.
- Click Create.
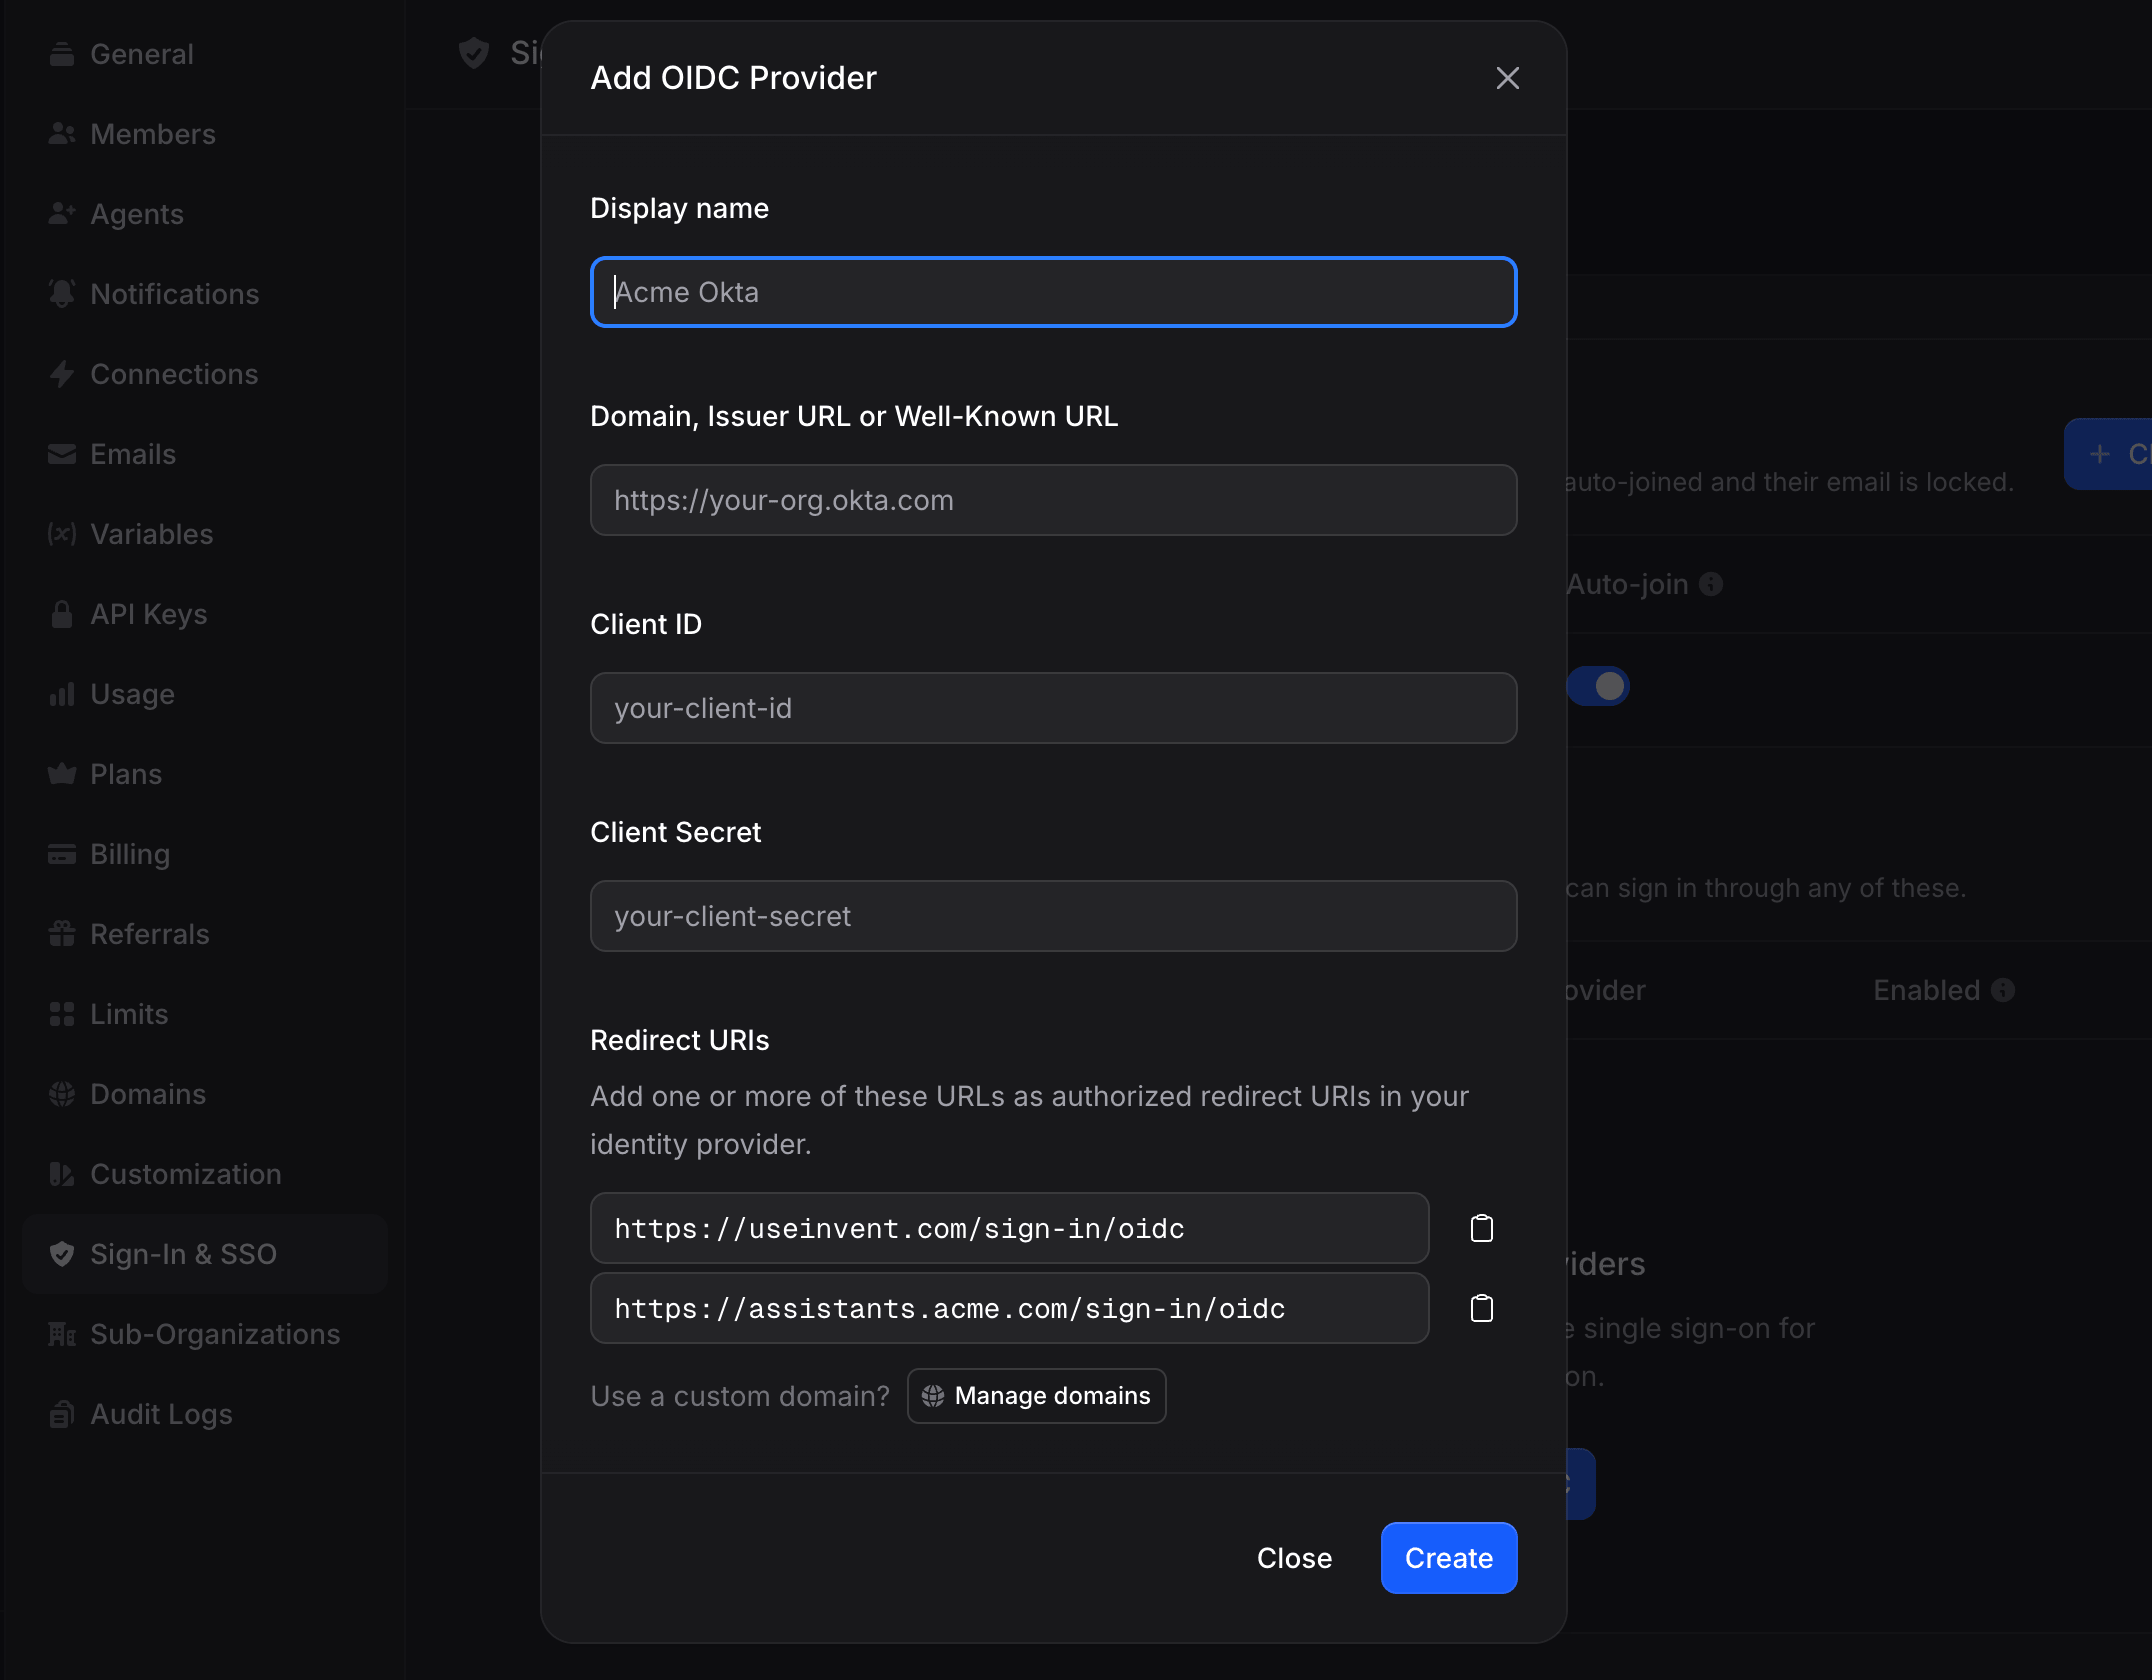
<issuer>/.well-known/openid-configuration. If the resolved URL is incorrect, unreachable, or does not return a valid OIDC metadata document, creation fails with an error and no profile is stored.
New profiles are created enabled by default. They become available in the sign-in picker the moment they are saved, provided at least one verified domain exists on the organization.
Issuer URI Examples
Invent auto-detects these vendors from the hostname of the Issuer URI and displays the matching logo and name inside the provider picker. Any other OIDC provider is fully supported and displays as a generic “OIDC” profile.
OIDC Scopes
Invent requests three standard OIDC scopes from your identity provider:openid, email, and profile. No special configuration is required on the identity-provider side, as these scopes are part of the OIDC core specification and are supported by every OIDC-compliant provider by default.
Editing a Profile
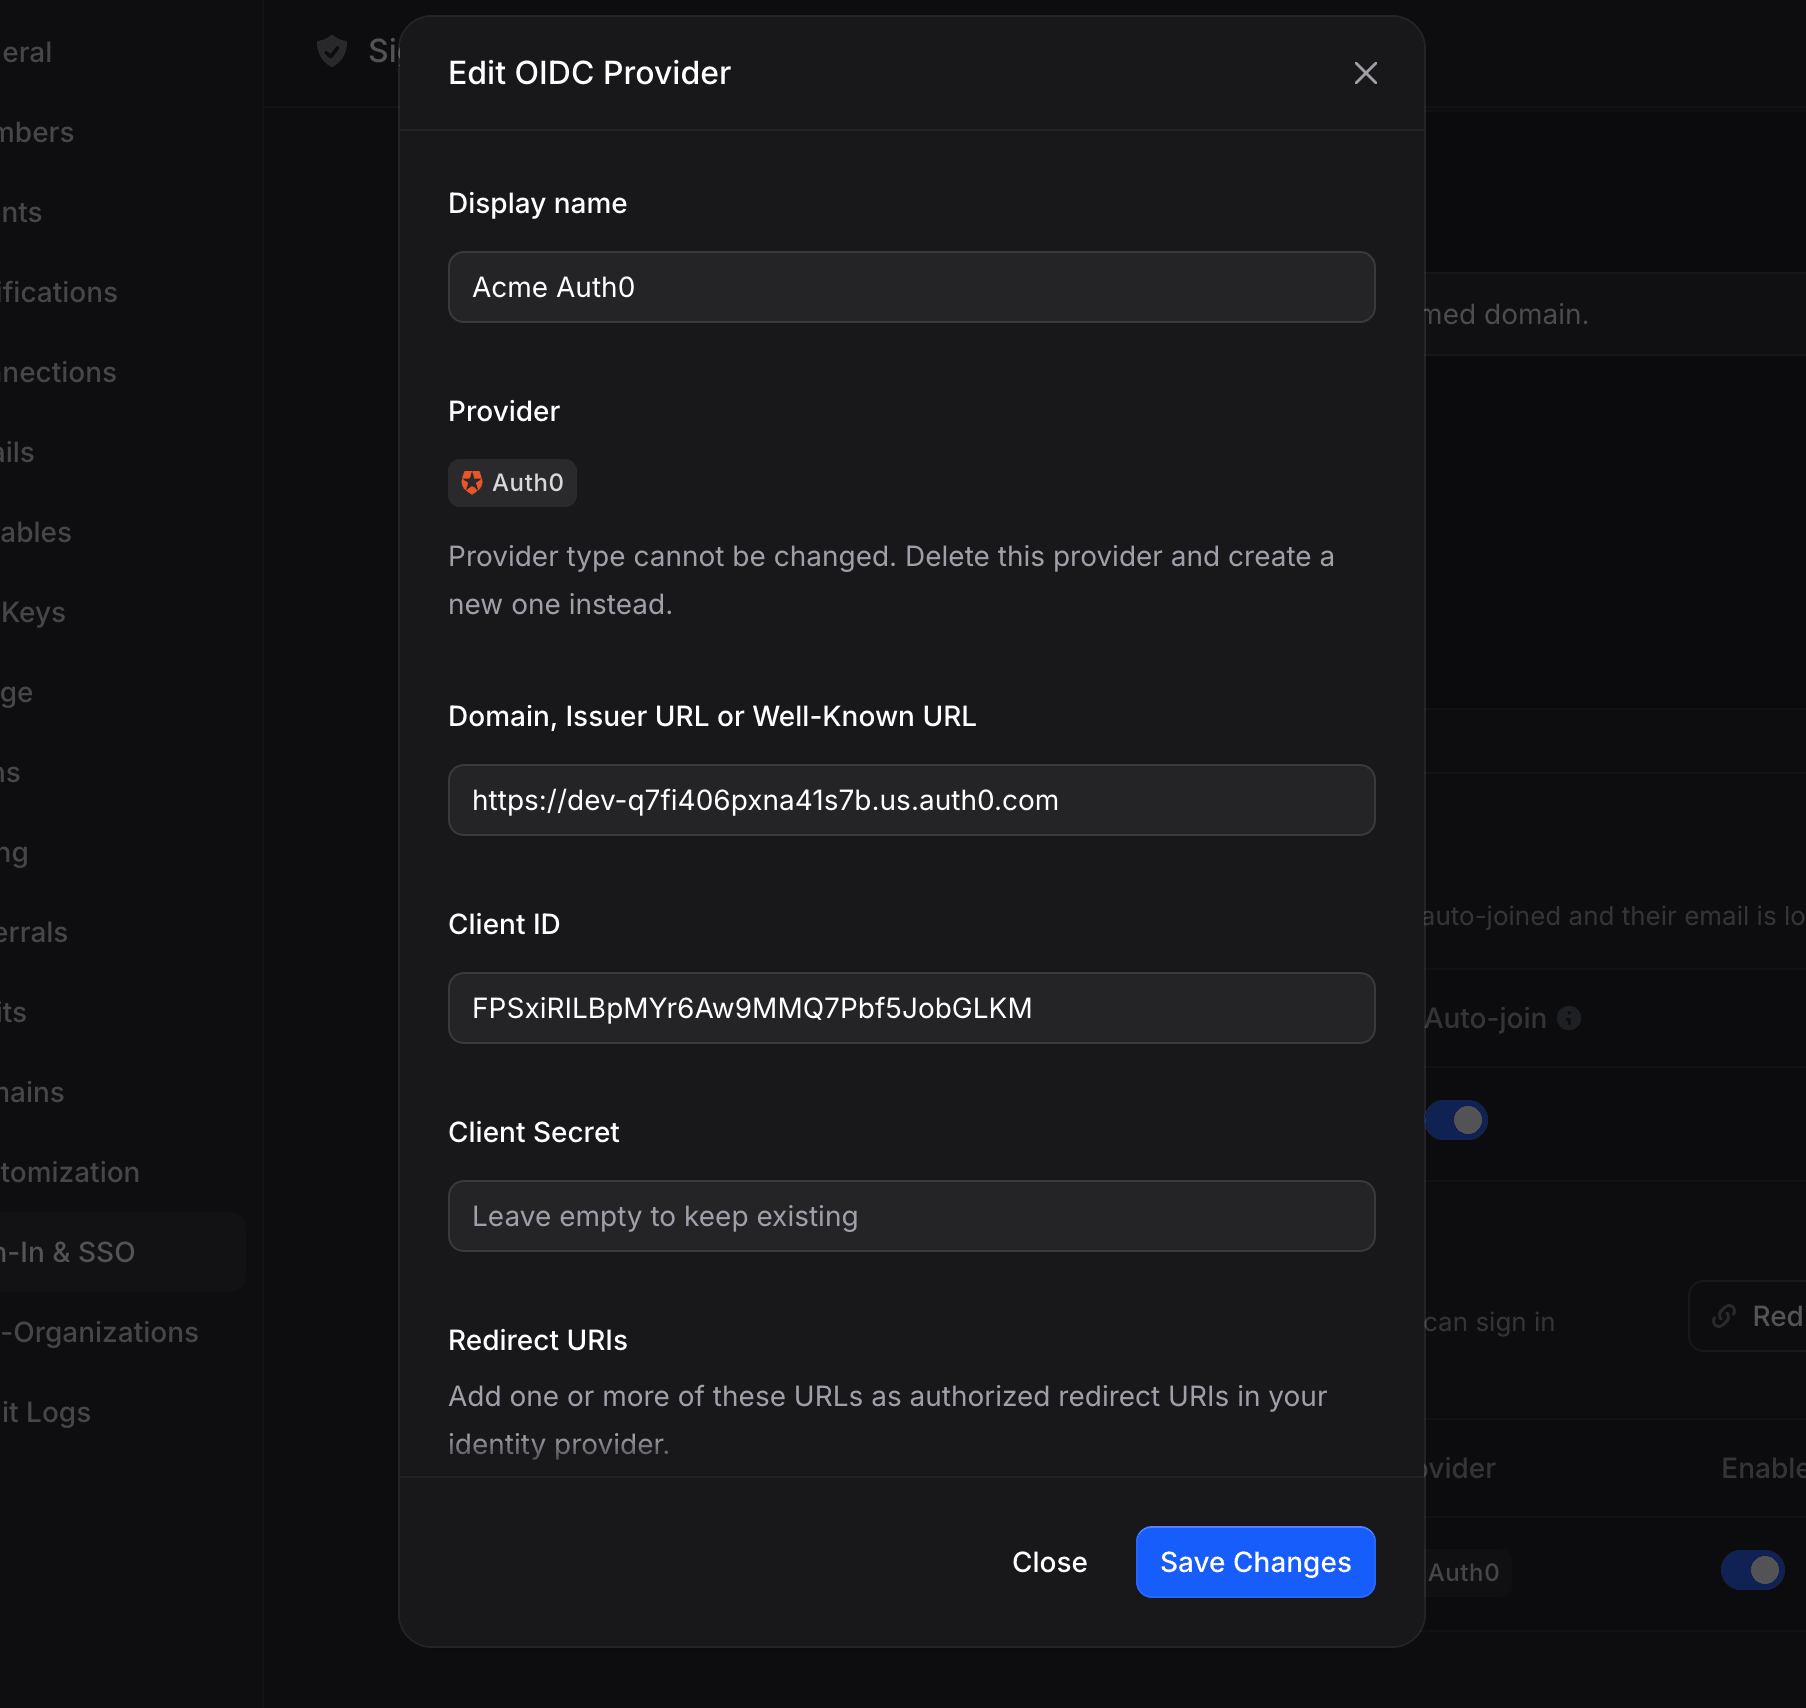
Click the ✏️ Edit icon on any profile row to open the Edit OIDC Provider dialog.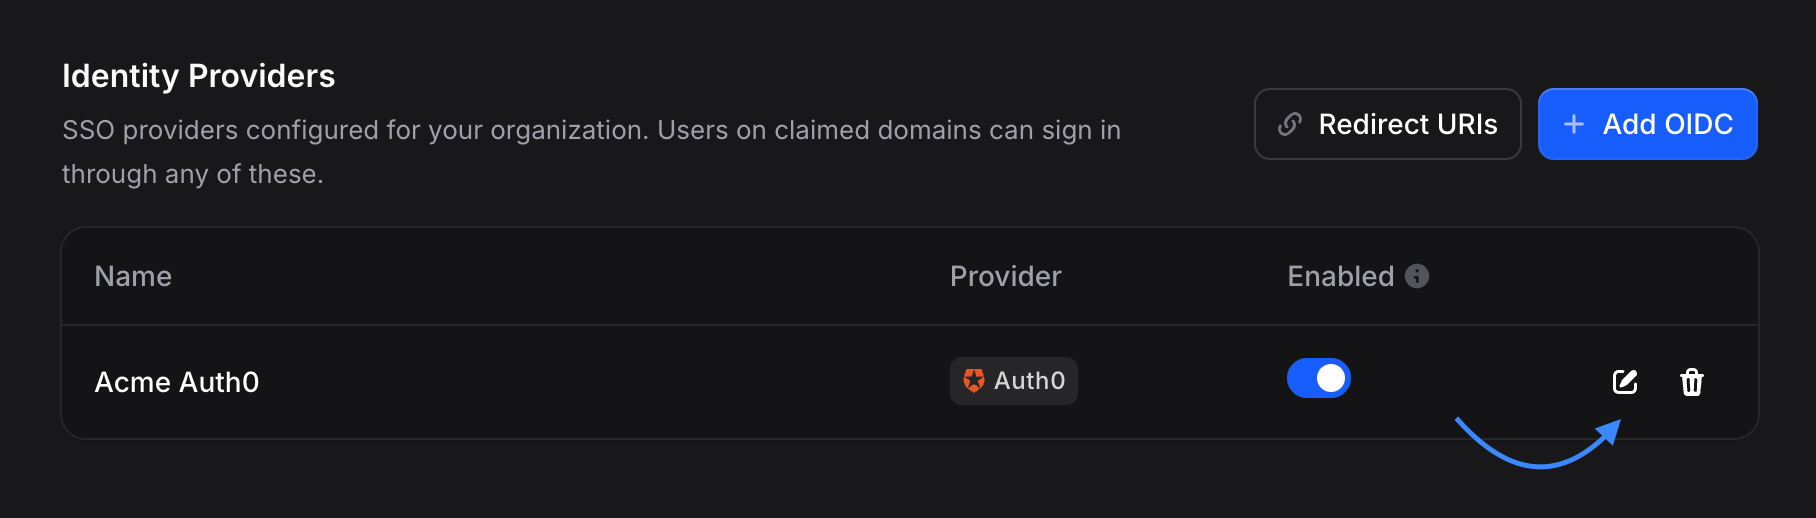
- Display name.
- Issuer URI and Client ID, which may need to change when the OIDC application is rotated or recreated inside your identity provider.
- Client Secret. Leave the field blank to keep the existing secret unchanged. Enter a new value to rotate the secret; the previous value is replaced atomically and cannot be recovered.
The provider type (OIDC) cannot be changed on an existing profile. If a different protocol or provider type is required in the future, delete this profile and create a new one.
Enabling and Disabling Profiles
The Enabled toggle on each profile row lets you pause a profile without deleting its configuration.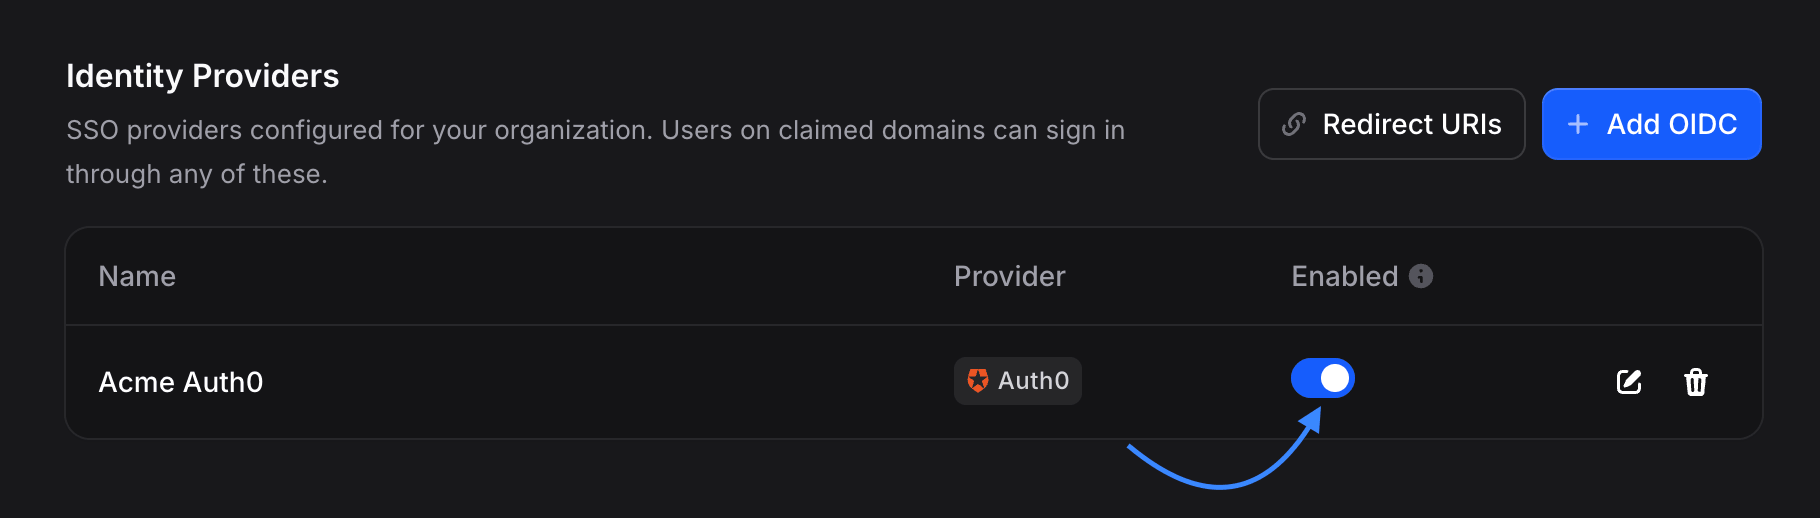
- It is hidden from the provider picker on the sign-in page.
- Any OIDC callback still in flight for that profile is rejected with a “not operational” error.
- Existing sessions created through the profile are preserved and are not revoked.
- All configuration, including the encrypted client secret, is retained so the profile can be re-enabled immediately without re-entering any values.
Deleting a Profile
Click the 🗑️ Delete icon on a profile row to remove it. Deletion is protected by a confirmation dialog that reports the number of active SSO sessions the profile currently owns, so you can gauge the impact before confirming.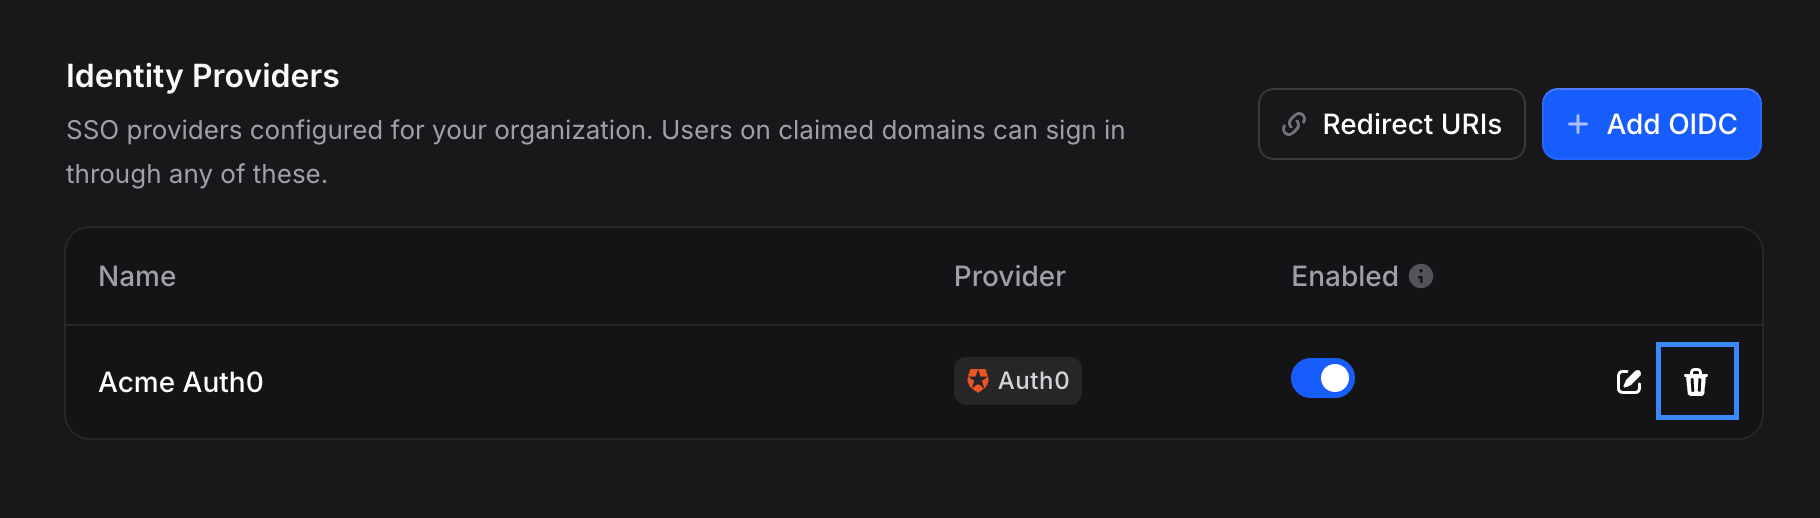
Just-in-Time (JIT) Provisioning
When a user signs in through SSO for the first time and no matching Invent account exists, the profile’s JIT setting determines what happens next:- JIT enabled (default). Invent creates the user automatically from the claims returned by the identity provider. Combined with Auto-Join on the matching verified domain, this is the fastest way to onboard a team at scale. Users never need to be invited manually.
- JIT disabled. First-time SSO sign-ins are rejected with the message “Automatic member provisioning is disabled for this SSO profile, please ask an admin to invite you first.” Use this setting when you require explicit control over which users are provisioned, for example in highly regulated environments.
Revoking Sessions
Dedicated session revocation controls (a sessions table with per-user sign-out and an organization-wide “sign out everyone” action) are coming soon. For now, the only way to forcibly revoke the SSO sessions created through a specific profile is to delete the profile itself. Deletion revokes every session owned by the profile in the same transaction.
Vendor Detection
Invent recognizes popular identity providers from the hostname of the Issuer URI and automatically displays the matching vendor name and logo in the provider picker. Vendor detection is display-only. The underlying authentication pipeline is standards-compliant OIDC regardless of which vendor is detected, or whether any vendor is detected at all. Supported vendors:
If your identity provider is reachable on a vanity domain (for example, Okta configured at
auth.acme.com), the profile still works exactly as any other OIDC profile. It simply displays as a generic OIDC connection without a vendor logo, since hostname-based detection cannot associate a custom domain with a specific vendor.
Security
- Client secrets are encrypted at rest using Invent’s secret-management subsystem and are never transmitted outside the backend in plaintext. Both the Invent UI and the public API read from a sanitized configuration view that omits the secret entirely.
- OIDC discovery documents are cached for up to 10 minutes. When the Issuer URI on a profile is changed, the cache entry for that profile is invalidated automatically so the next sign-in uses the new metadata.
- Email verification is enforced. If your identity provider returns
email_verified: falsein the ID token, Invent rejects the sign-in and surfaces a clear error to the user asking them to verify their email with the identity provider. - Fallback from
emailtopreferred_username. Some Microsoft Entra ID tenants do not emit the standardemailclaim in ID tokens. Whenemailis missing, Invent falls back topreferred_username(which Entra formats as a UPN email) so sign-in succeeds without configuration changes on the identity provider.
Troubleshooting
'Could not reach the OIDC issuer'
'Could not reach the OIDC issuer'
Invent was unable to fetch the
.well-known/openid-configuration document from the Issuer URI provided on the profile. Verify that the URL resolved from the Issuer URI is correct, publicly reachable from the internet, and served over HTTPS. Identity providers hosted on private networks or behind a VPN are not supported.'The identity provider rejected the credentials'
'The identity provider rejected the credentials'
The OIDC
invalid_client error typically indicates that the Client ID or Client Secret on the profile does not match the values configured on the OIDC application inside your identity provider. This often happens after a secret rotation. Open the profile’s Edit dialog and re-enter both values.'The sign-in attempt has expired or already been used'
'The sign-in attempt has expired or already been used'
This error corresponds to the OIDC
invalid_grant response. Every sign-in attempt is single-use and valid for 10 minutes from the moment the authorization URL is generated. Ask the user to return to the Invent sign-in page and start the flow again.'The email is not on a domain claimed by this organization'
'The email is not on a domain claimed by this organization'
SSO sign-in is restricted to users whose email matches a verified domain on the same organization that owns the SSO profile. Either add the user’s domain to the organization’s list of SSO domains, or have them sign in with an email address on an already-verified domain.
'The identity provider returned an unverified email address'
'The identity provider returned an unverified email address'
The identity provider returned
email_verified: false in the ID token. Have the user complete email verification inside the identity provider, or adjust the identity-provider claim configuration so that verified emails are the only ones surfaced to Invent.'Automatic member provisioning is disabled for this SSO profile'
'Automatic member provisioning is disabled for this SSO profile'
JIT provisioning is disabled on this profile and the user does not yet have an Invent account. Either invite the user to your organization manually before they sign in, or enable JIT on the profile.