The Default Path
Most users simply enter their company email on the standard Invent sign-in page and are automatically routed to SSO when appropriate, without ever having to make an explicit choice.Step 1: Enter Email
From the Invent sign-in page, the user enters their company email address (for example,alice@acme.com) and clicks continue.
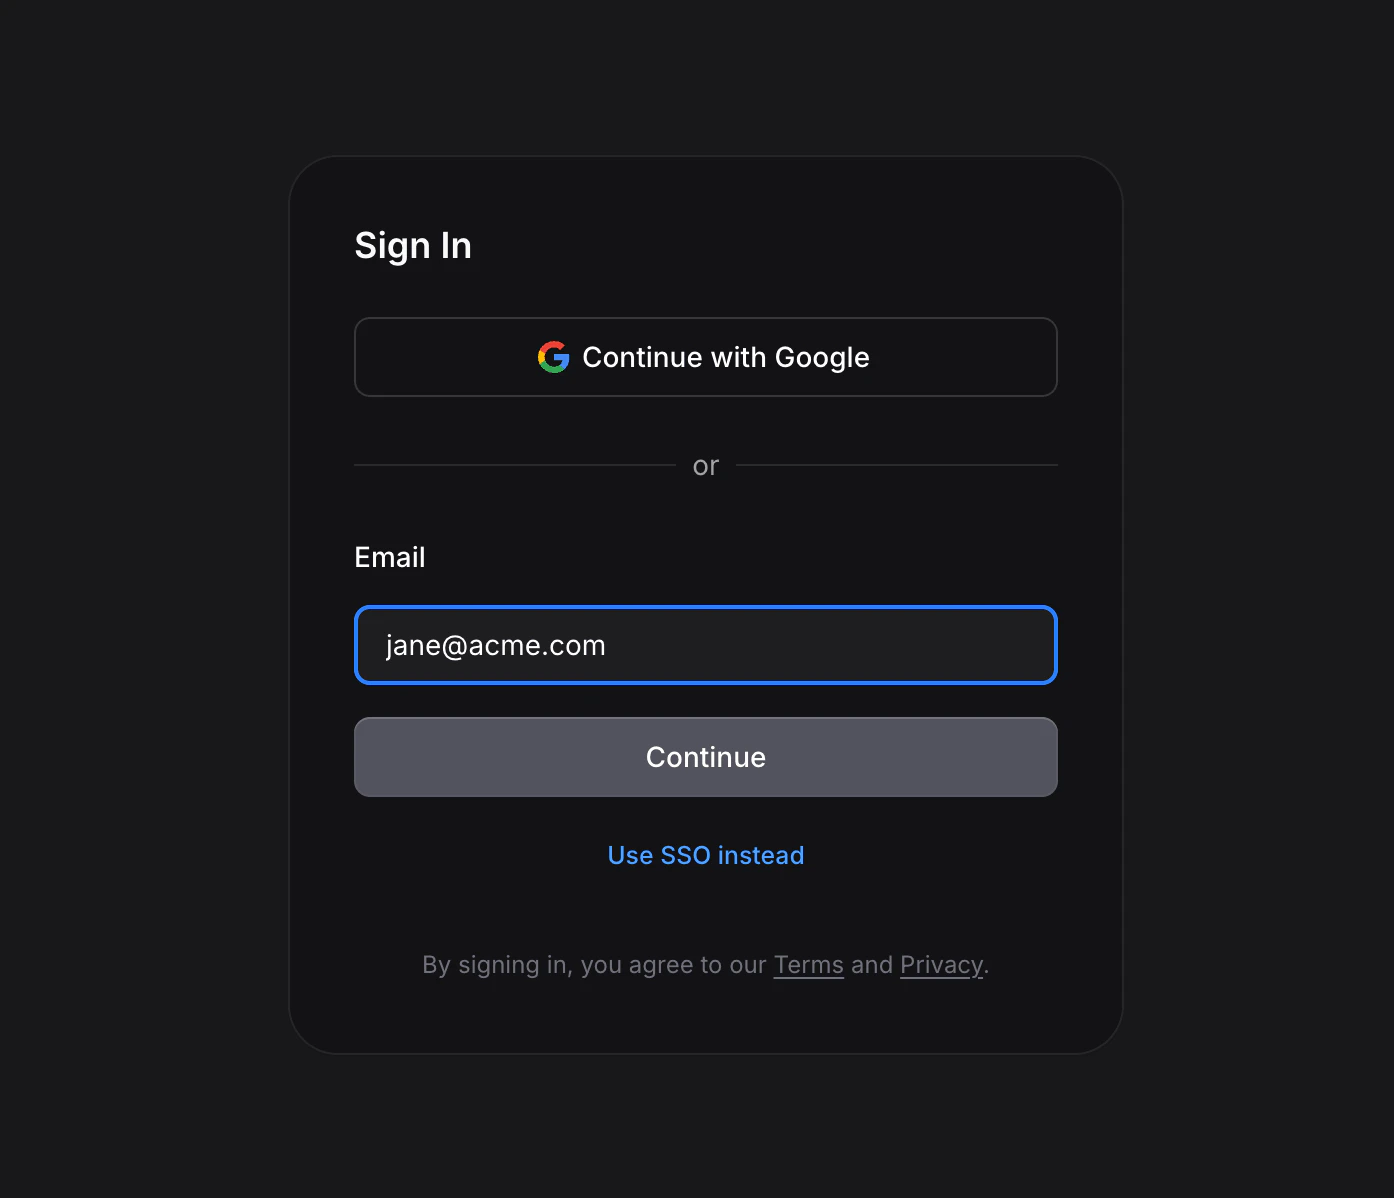
If the user wants to authenticate through SSO while email-code sign-in is still enabled on their domain, they must click the Use SSO instead link below the email field. The email field itself only diverts to SSO when email-code sign-in is disabled and at least one SSO profile is available, which is the scenario where the Access Policy has effectively made SSO mandatory.
Step 2: Pick Your Provider
If the organization has multiple enabled SSO profiles, the user is shown a picker and selects which one to use. Each option displays the profile’s configured display name (for example, “Acme Okta”) alongside the auto-detected vendor logo, when available.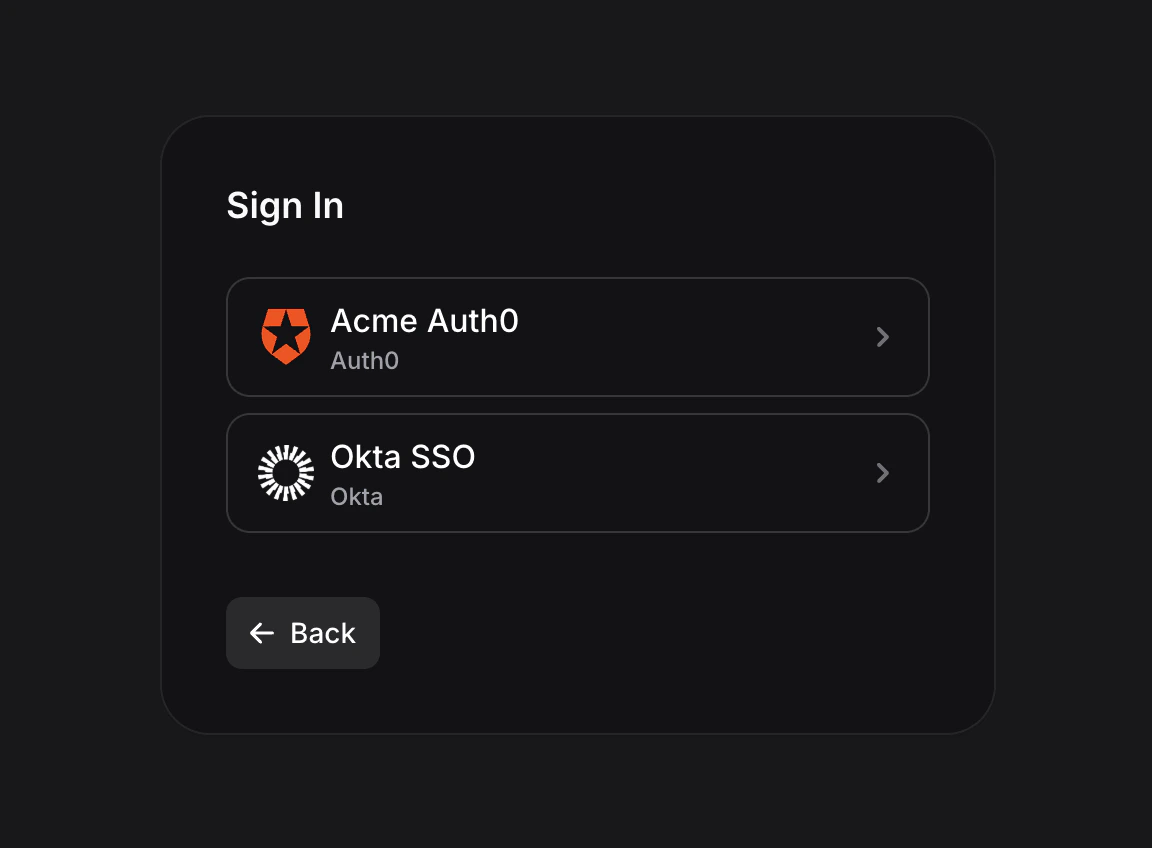
Step 3: Authenticate at Your Identity Provider
Invent redirects the user to the identity provider’s login page. The user completes whatever authentication steps the identity provider requires, such as password entry, multi-factor authentication, or conditional-access checks. Invent has no visibility into or control over this step.Step 4: Back to Invent
After successful authentication, the identity provider redirects the user back to Invent’s OIDC callback URL at/sign-in/oidc. Invent verifies the callback’s state parameter, exchanges the authorization code for an ID token, validates the claims inside the token, and then creates or reuses the Invent user account.
On success, the user is taken to the dashboard. On failure, the user is shown an error screen that explains the reason, including any error code and description forwarded from the identity provider.
The Explicit SSO Path
Users who already know they should authenticate through SSO can click the Use SSO instead link at the bottom of the Invent sign-in page. This skips the default email-code path and takes them directly to a dedicated SSO email-entry screen. From there, they enter their company email and click Sign in with SSO.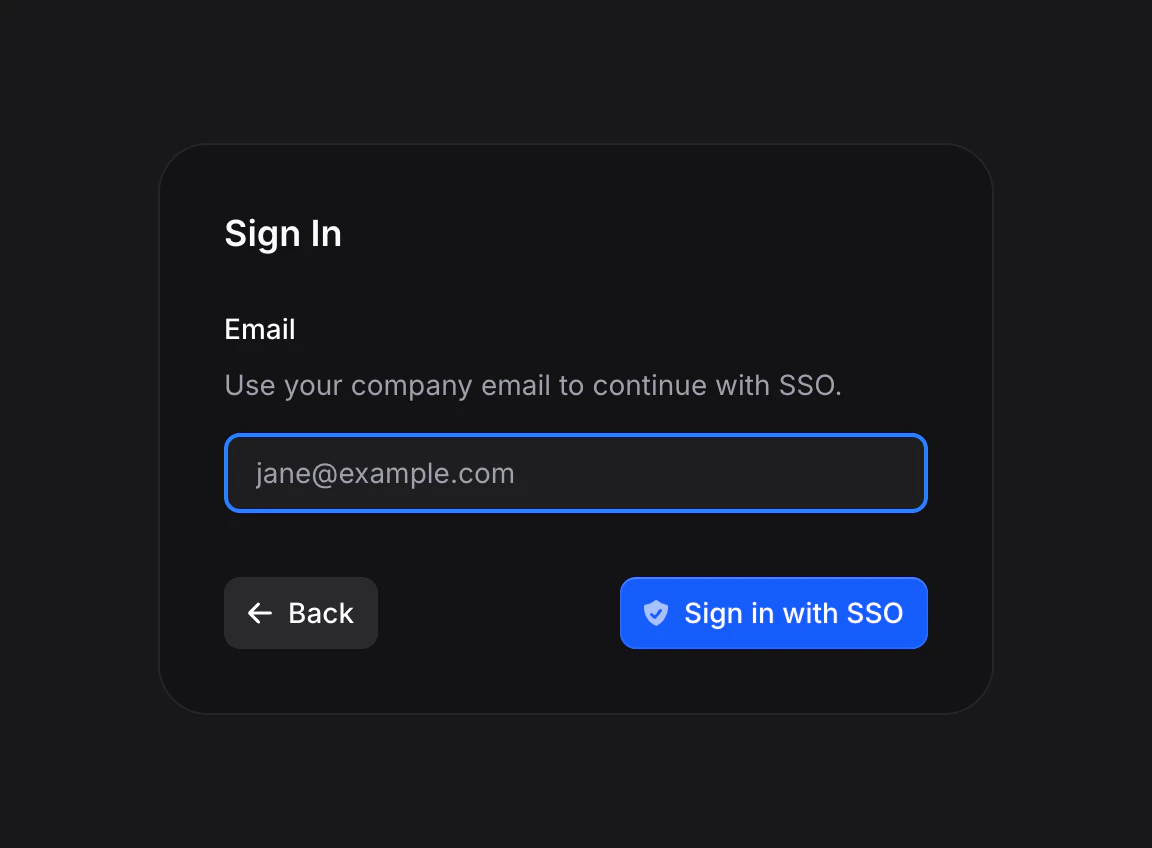
Profile Sync on Sign-In
If the user’s matching domain has Sync Profile enabled, every SSO sign-in refreshes the user’s name, avatar, and email from the ID token claims returned by the identity provider. This keeps Invent’s view of each user consistent with your directory of record over time, even as employees are given new names, update their photos, or have their email addresses reassigned. Avatar handling is vendor-aware because different identity providers expose profile photos through different mechanisms:- Google: uses the standard OIDC
pictureclaim. - Microsoft Entra ID: does not emit a profile photo in the ID token. Entra ID profile photos are only accessible through Microsoft Graph, so avatar sync is effectively disabled for Entra users.
- Okta, Auth0, PingOne, Ping Identity, OneLogin, JumpCloud, Amazon Cognito, IBM Security Verify, Oracle IDCS, Cisco Duo: all use the standard OIDC
pictureclaim. - Generic OIDC providers and vanity domains: use the standard OIDC
pictureclaim when it is present in the ID token.
First-Time Sign-In (JIT Provisioning)
When a user signs in through SSO and does not yet have an Invent account, the profile’s JIT setting determines the outcome:- If the profile has JIT provisioning enabled, Invent creates the user automatically from the identity-provider claims and continues the sign-in.
- If the profile has JIT provisioning disabled, the sign-in is rejected with the message “Automatic member provisioning is disabled for this SSO profile, please ask an admin to invite you first.”
Errors Your Users Might See
Most of these errors surface on the
/sign-in/oidc callback page with a clear explanation and a Go back button that returns the user to the sign-in page.
Sign-Out
Signing out of Invent terminates the Invent session only. It does not sign the user out of the identity provider, because OIDC single-logout is out of scope for the current release. If the user returns to Invent and clicks sign in again, the identity provider may authenticate them silently from its own session. Dedicated controls for forcing re-authentication across your organization are coming soon.Testing Your Setup
Before rolling SSO out to the entire team, perform an end-to-end test using an admin account:- Create an SSO profile in Invent and save it.
- Verify that the profile displays the correct vendor badge in the profiles table, or the generic “OIDC” badge if the profile uses a vanity domain.
- Open an incognito window (so existing sessions do not interfere) and navigate to the Invent sign-in page.
- Enter your company email and confirm that the SSO option is presented.
- Click Use SSO instead, enter your company email, and click Sign in with SSO to exercise the full identity-provider flow.
- Confirm that the sign-in completes successfully and that you land on the Invent dashboard.
- Open Settings → Audit Logs and confirm that the SSO sign-in event has been recorded.
- Sign out, then sign in a second time, and confirm that repeat sign-ins complete without errors.