New to channels? Start with the Channels Overview to see the universal connect flow that every channel shares. This guide walks through the Messenger-specific screens on top of that flow.
Before You Start
You need three things:- A Facebook account that is an admin (or has Messaging access) on the Page you want to connect. Editor and Moderator roles on a Page do not have permission to grant Messenger access on behalf of the business; ask the Page admin to run this flow if you do not have that role.
- A Facebook Page for the business you are connecting. If your business does not have a Page yet, create one at facebook.com/pages/create before you start. The Page does not need to be Verified, and it does not need to be linked to a Business Portfolio for inbound Messenger to work.
- Messenger turned on for the Page. This is the default for every Page, but if you have ever paused Messenger from the Page settings, switch it back on first. With it off, customers cannot start a conversation and the assistant has nothing to reply to.
Step 1: Open the Messenger Connect Dialog
From your assistant’s Channels tab, find Facebook Messenger in the list and click Connect. The Messenger connect dialog opens.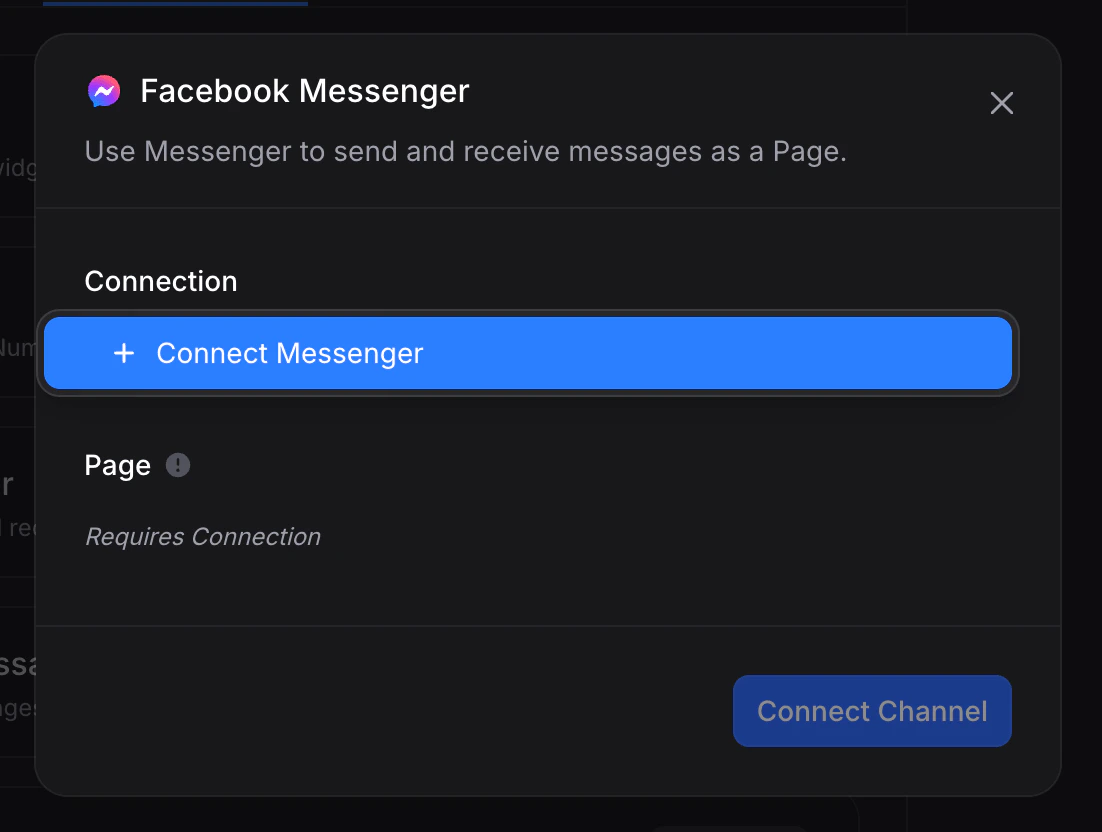
- Connection: the authenticated link to your Facebook account. If this is your first Messenger connection, the dropdown is empty apart from a blue + Connect Messenger button you use to start the sign-in flow (covered in the next step). If you have already connected Messenger for another assistant, your existing connections are listed here and you can reuse any of them, in which case you can skip to Step 6.
- Page: the specific Facebook Page on that connection that this assistant should send and receive messages for. Disabled with Requires Connection until a connection is selected, then populated automatically with every Page Invent has access to under that connection.
Step 2: Authenticate with Facebook
Open the Connection dropdown and click + Connect Messenger. Facebook’s login popup opens.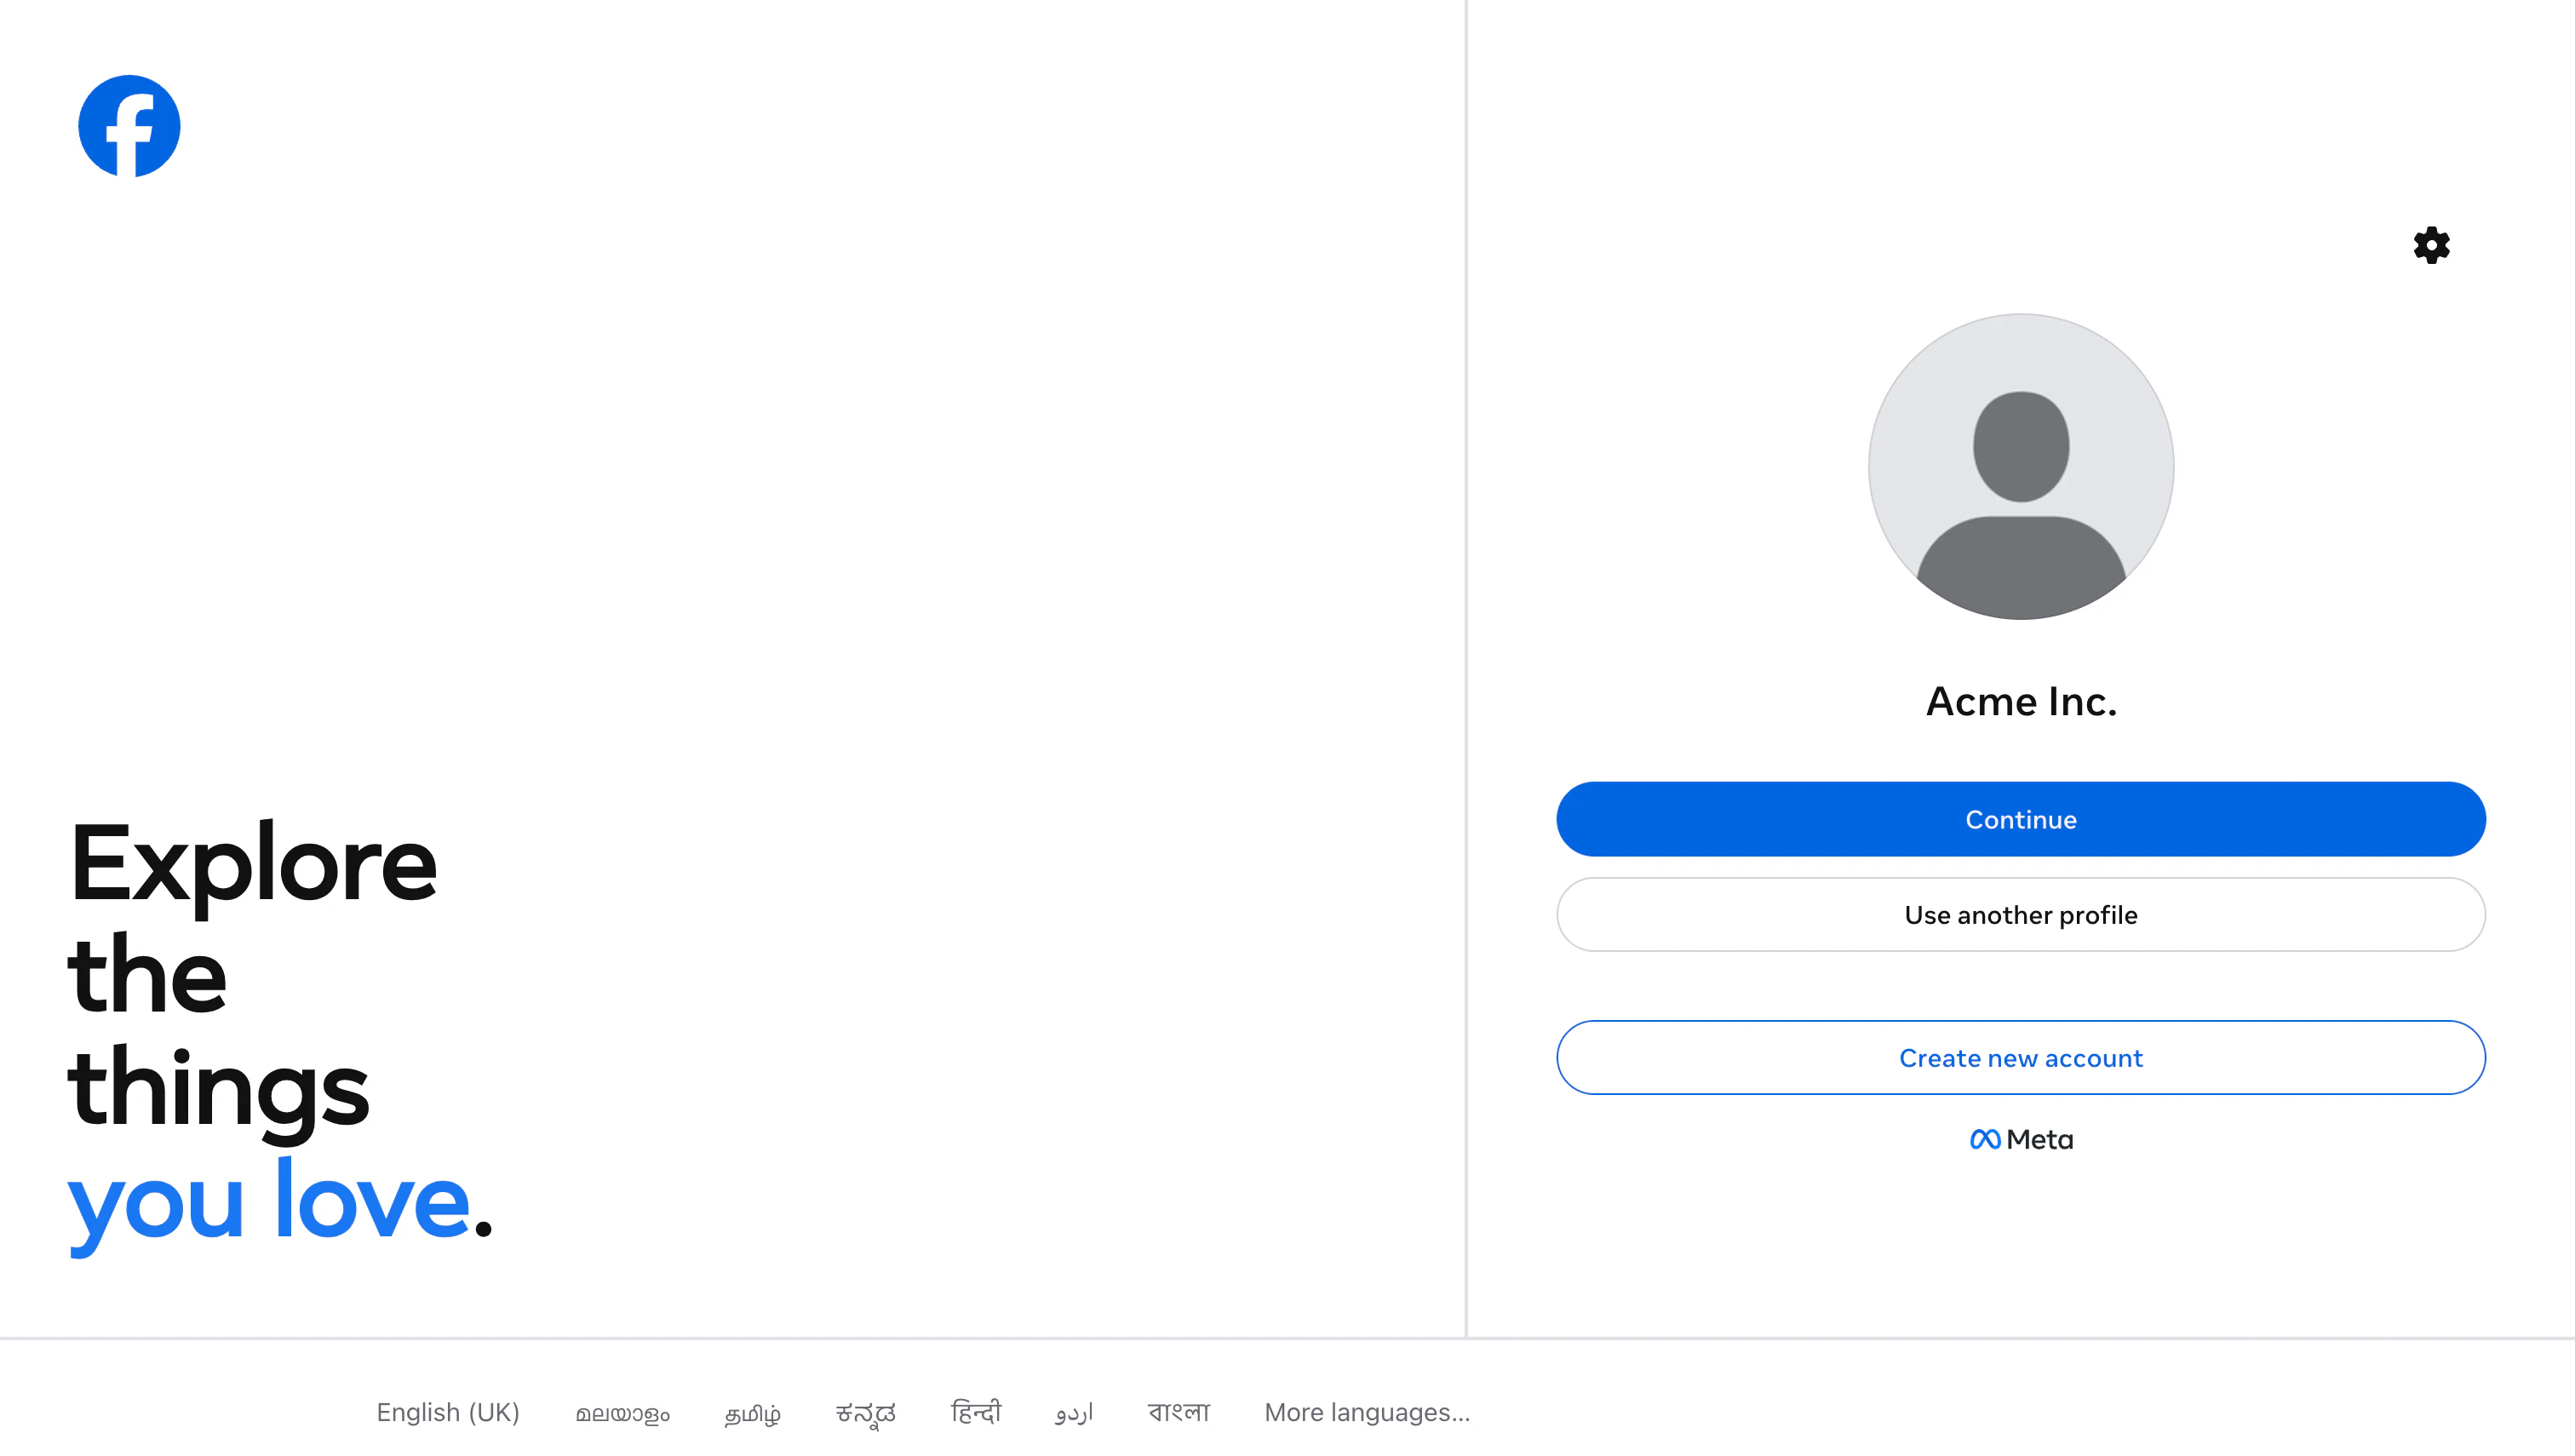
facebook.com. Your credentials are only entered on Facebook’s domain, never on Invent’s.
You have three options:
- Continue as the suggested profile. Use this when the profile shown is the Facebook account that manages the Page you want to connect.
- Use another profile to switch to a different Facebook account on this device.
- Create new account if the right Facebook account does not exist yet. We do not recommend this route for businesses; assign a real admin’s Facebook account instead so Page access is not tied to a throwaway profile.
Step 3: Choose the Pages Invent Can Access
Facebook now asks which of your Pages this integration is allowed to manage.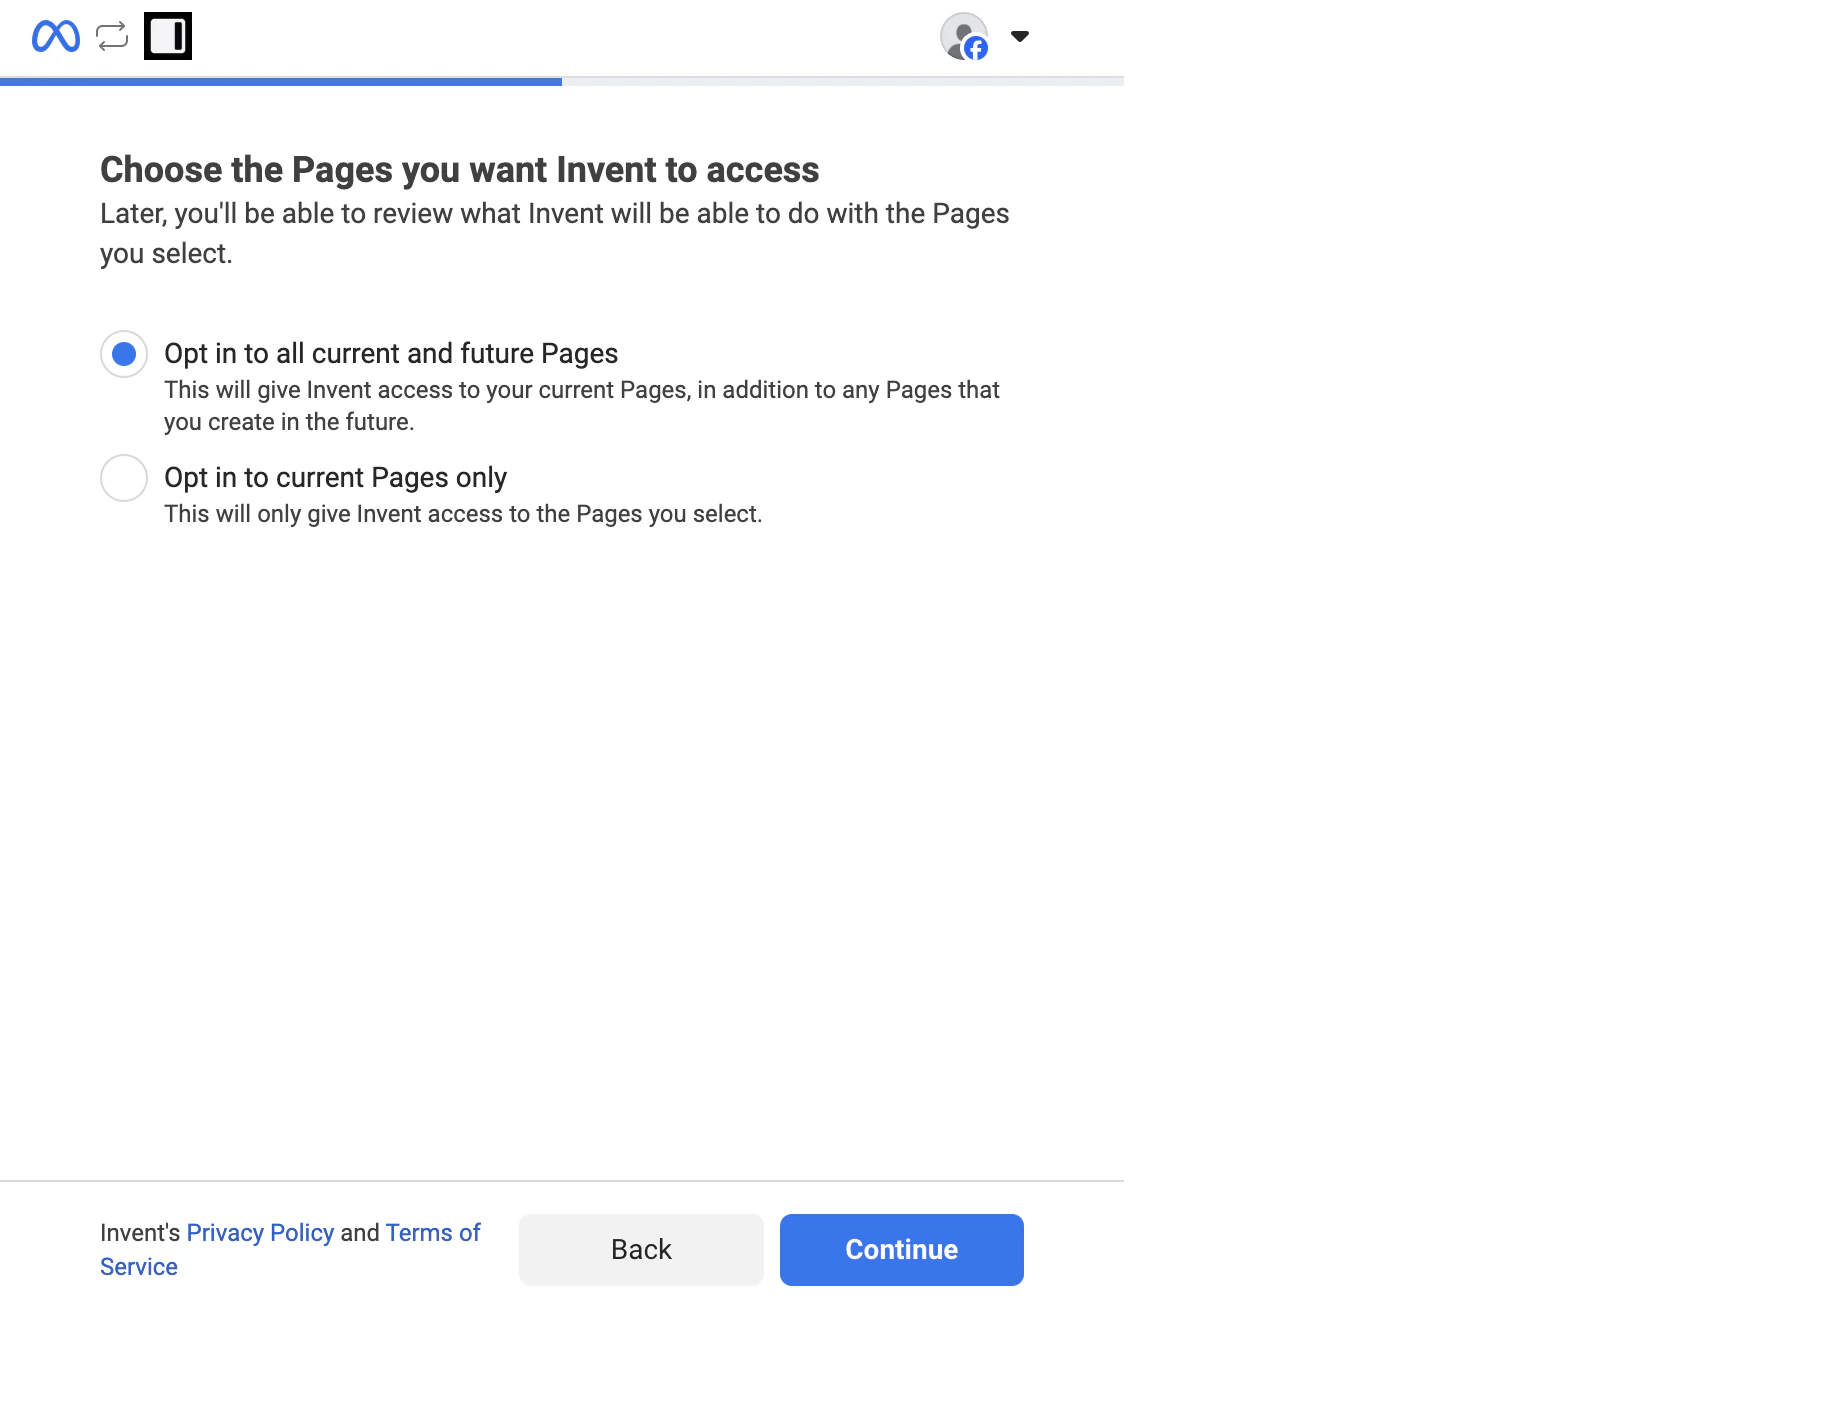
If you pick Opt in to current Pages only, Facebook shows a multi-select list of every Page your profile manages. Tick the Pages you want Invent to be able to bind to and continue.
Click Continue.
Step 4: Review Permissions and Confirm
Facebook shows a final summary of what Invent is requesting access to.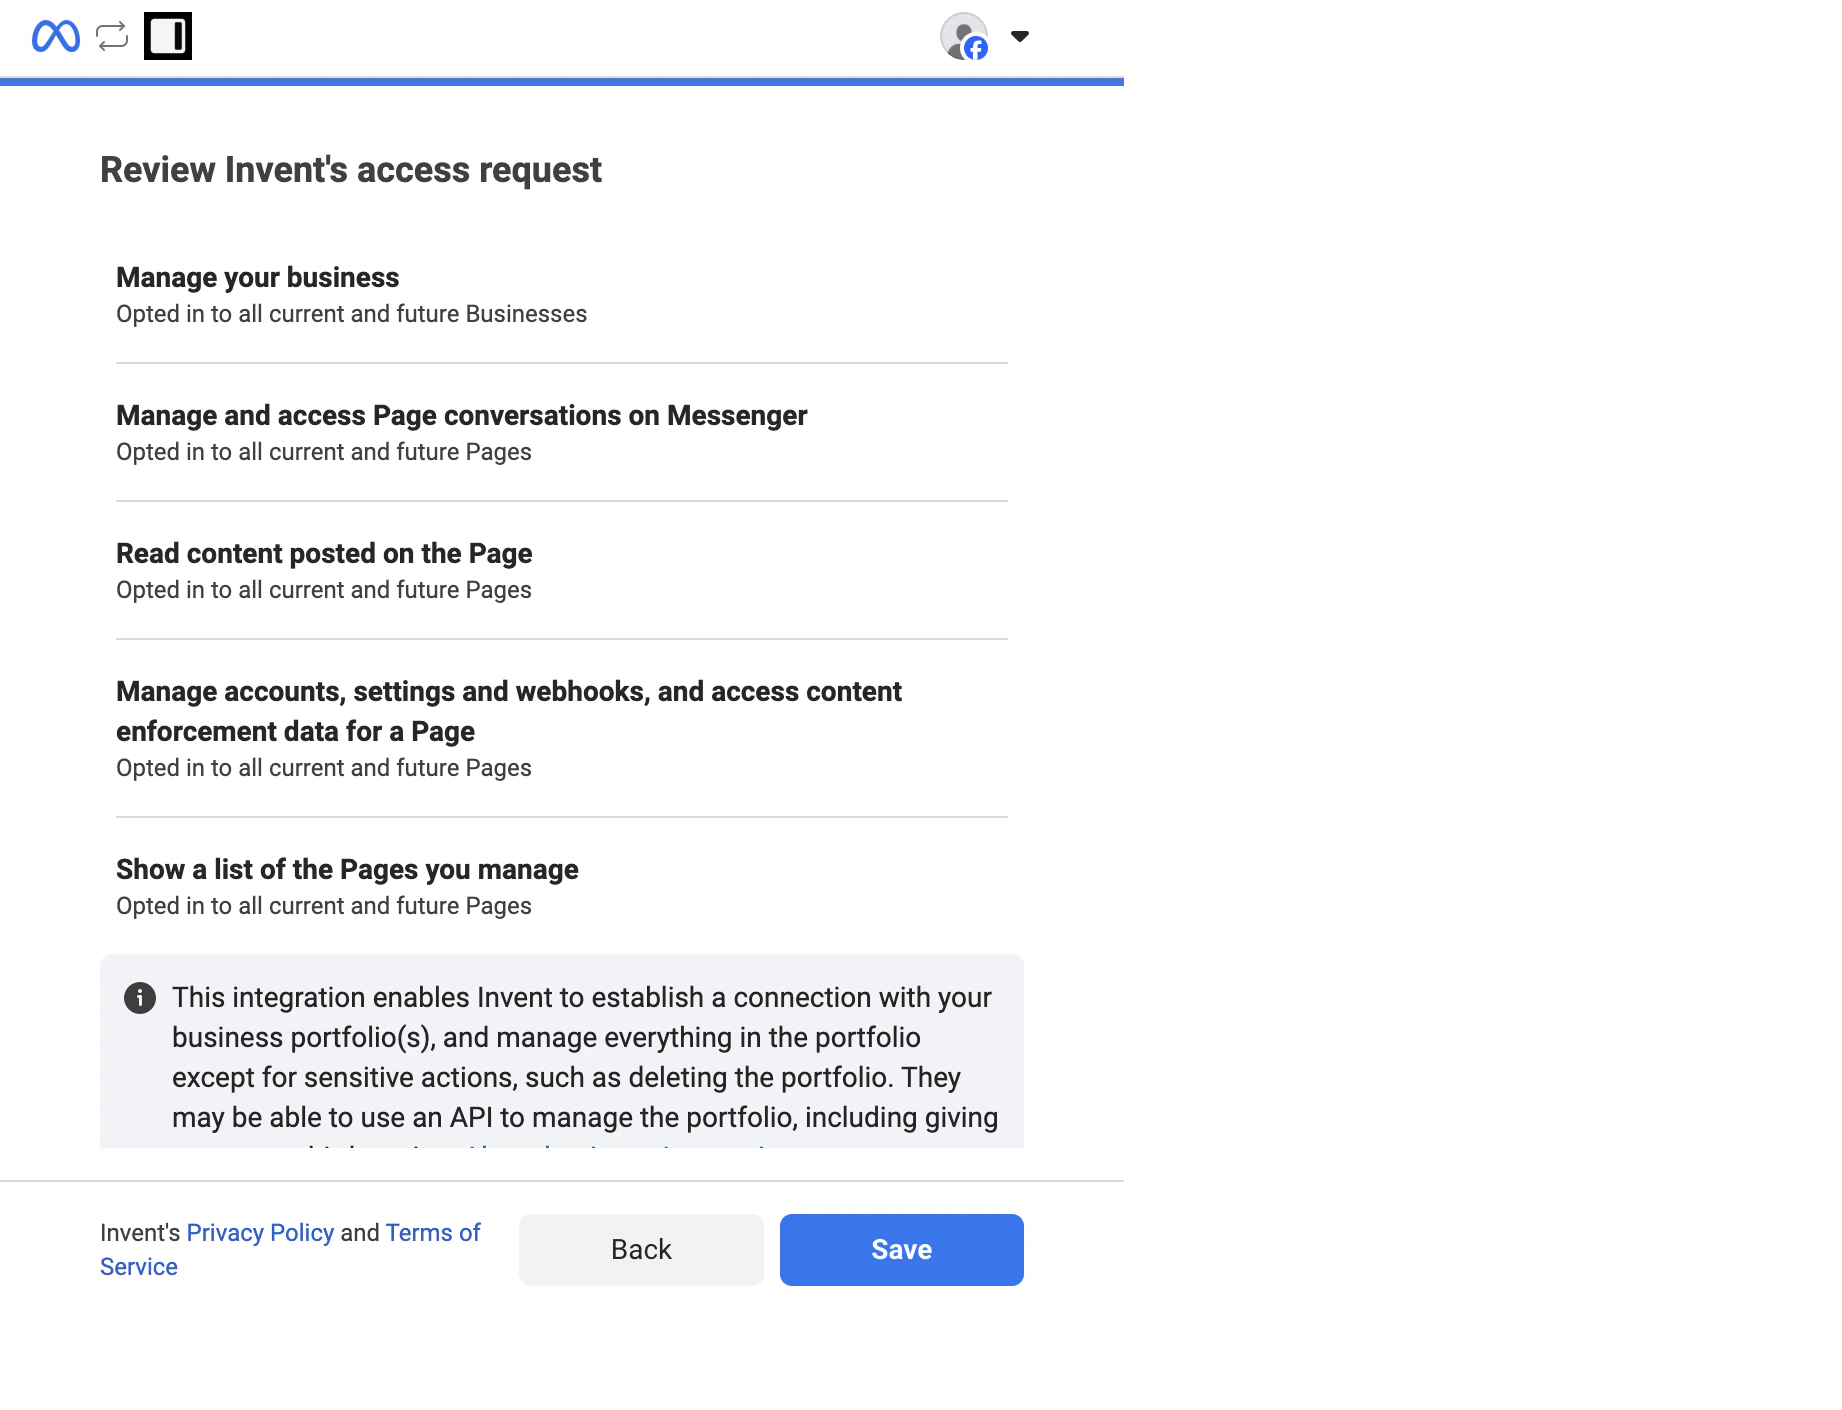
- Manage your business: identify which businesses and Pages your profile manages, so the right ones surface in the next steps.
- Manage and access Page conversations on Messenger: receive incoming Messenger messages and send replies on behalf of the Page. This is the core capability that powers the assistant.
- Read content posted on the Page: pick up the context of comments, story replies, and other content that customers reference when they message you.
- Manage accounts, settings, webhooks, and access content enforcement data for a Page: subscribe Invent’s webhook to the Page so new messages arrive in your Inbox in real time, without polling.
- Show a list of Pages you manage: surface the list of eligible Pages inside the Messenger connect dialog so you can pick one without copy-pasting any IDs.
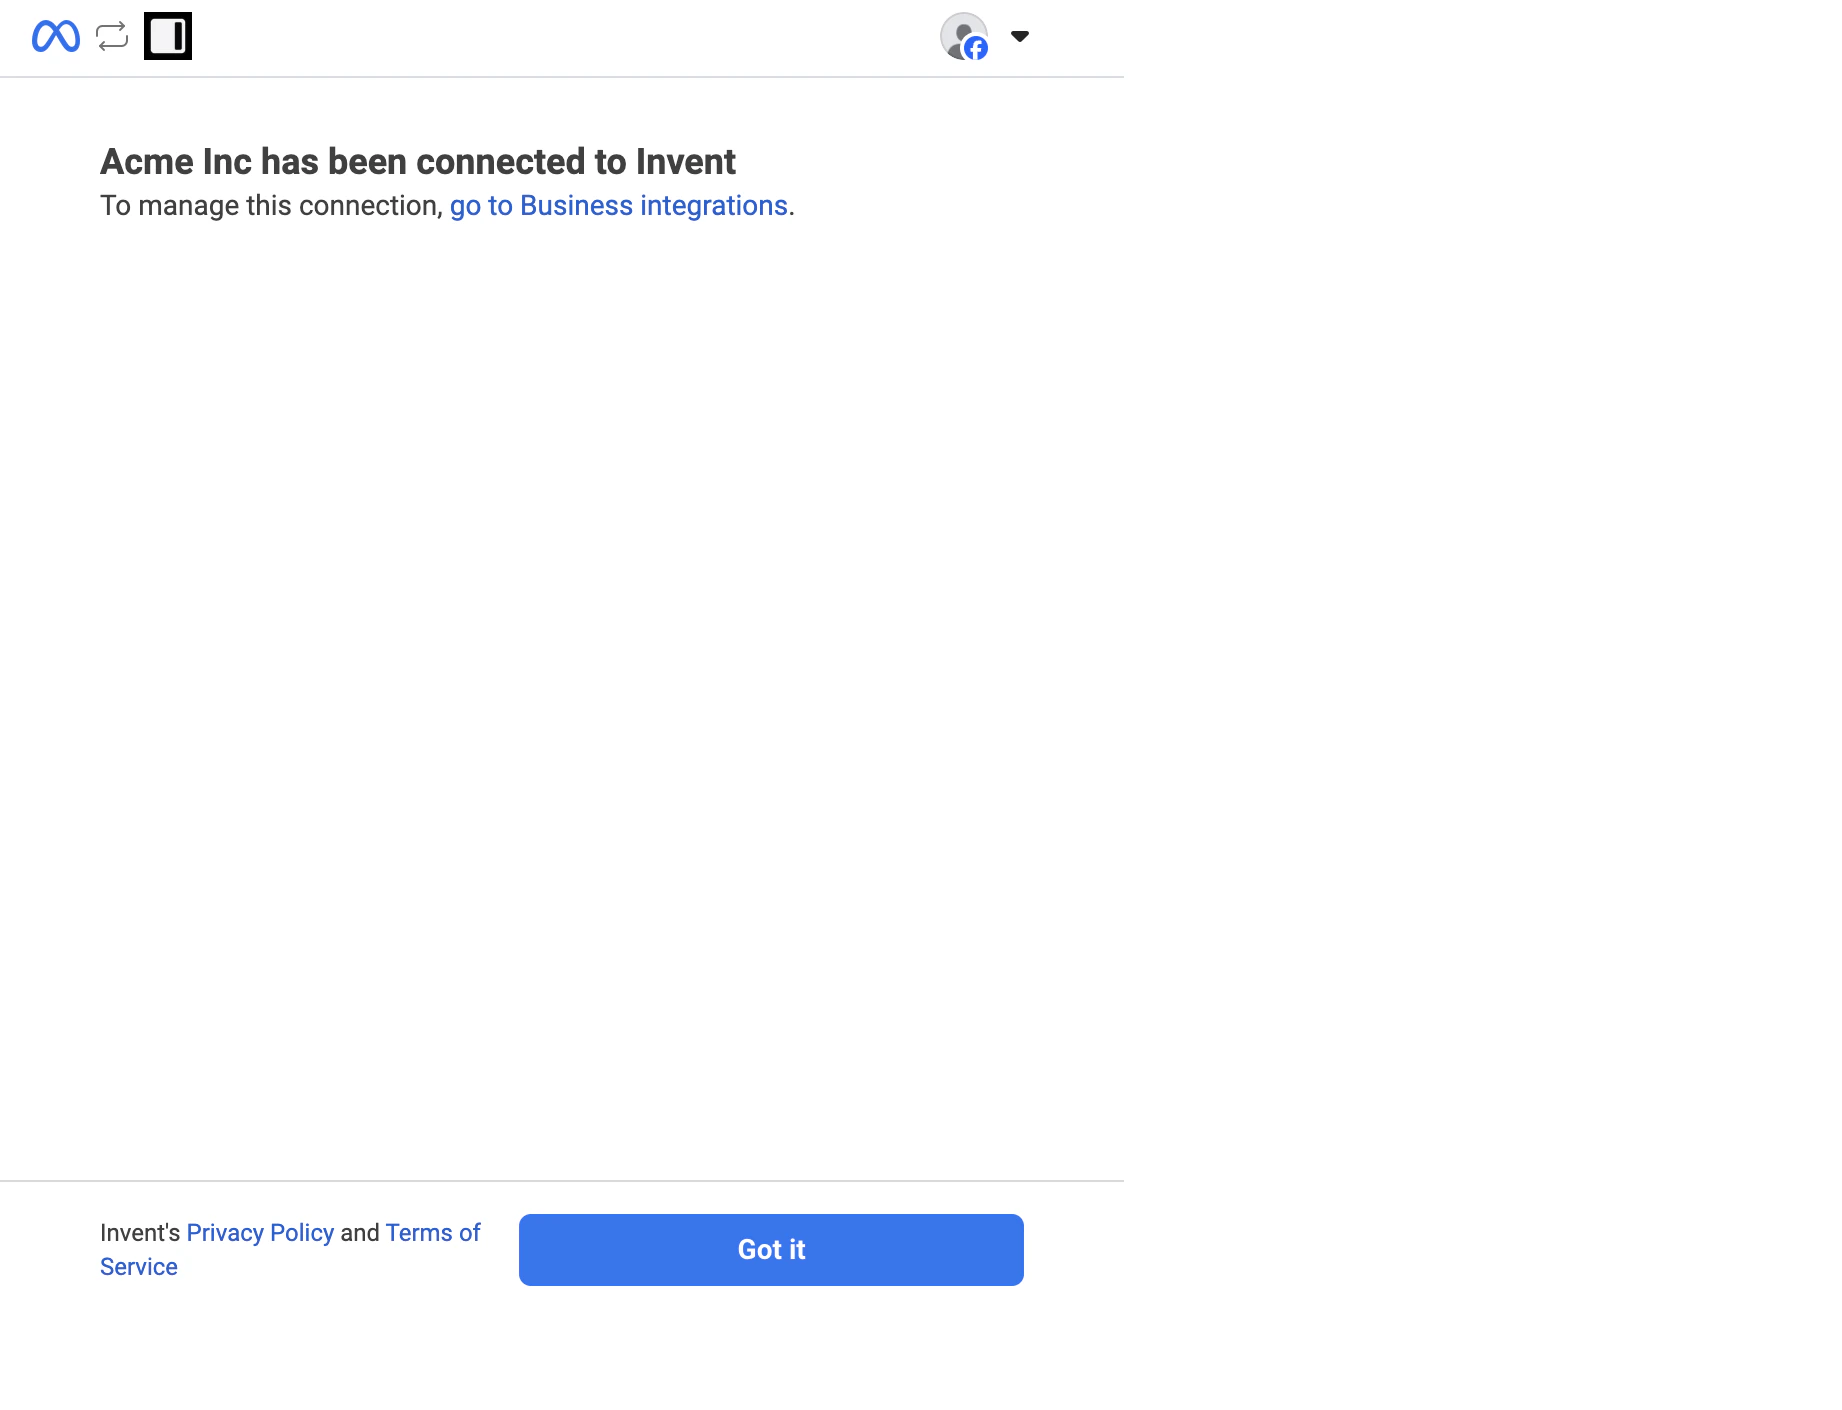
The success screen includes a go to Business integrations link for managing this connection inside Facebook’s settings. You do not need to use it now. Most day-to-day operations (rename, reconnect, disconnect) can be done directly from Settings → Connections inside Invent.
Step 5: Name the Connection in Invent
Facebook redirects you back to Invent and prompts you to label the new connection (for example, “Acme Inc” or “Sales Pages”). This is the name you will see inside Invent, it does not change anything on Facebook’s side. Click Create and Invent stores the connection in Settings → Connections, where you can rename it or disconnect it at any time.Step 6: Pick the Page
Back on the Messenger connect dialog, your new connection is already selected. The Page dropdown now lists every Facebook Page that connection has access to.
One Page, one assistant. A Facebook Page can only be bound to one assistant at a time. If two assistants need to share the same Page, AI routing is usually a better pattern than splitting the Page. If you bind a Page that is already attached to another Invent assistant or a different Messenger automation tool, the previous binding is overridden and the new assistant takes over the inbox.
Step 7: Send a Test Message
Open Messenger on your personal device, search for the connected Page (or openm.me/<your-page-username>), and send a message. You should see your assistant reply within a few seconds. The conversation also appears in your Inbox immediately, with the originating Page and the Messenger channel shown on the conversation.
That is it, the assistant is live on Messenger.
Connecting More Pages
You can add additional Facebook Pages to the same assistant at any time. From the Channels tab, click + Add another under the Messenger section and either:- Pick another Page from the same connection (if your Facebook profile manages more than one Page that this connection has access to), or
- Connect a new account by opening the Connection dropdown and choosing Connect Messenger again. This is the path to take when the new Page lives under a different Facebook profile or business.
Reusing a Connection Across Assistants
Once a Messenger connection exists in your workspace, any assistant can pick it up from the Connection dropdown without going through the Facebook popup again. Authenticate once, reuse everywhere. Manage every connection centrally from Settings → Connections:- Rename a connection to keep the list readable as you add more.
- Reconnect — open the connection with Edit and click Reconnect inside the dialog — if the Facebook session expires, an admin removes the integration from Business integrations, or a user revokes the permissions on
facebook.com/settings/business_integrations. - Disconnect to remove the link entirely. Any assistant still using that connection stops sending and receiving until it is pointed at a new one.
Troubleshooting
The Facebook popup closed before I reached the success screen
The Facebook popup closed before I reached the success screen
Nothing is saved until Facebook reaches the Connected to Invent confirmation screen. Click Connect on the channel again and run through the flow. Your previous selections (which Pages to grant access to, which permissions to approve) are remembered on Facebook’s side, so you will move through the prompts faster on the second try.
The Page I want is not in the dropdown
The Page I want is not in the dropdown
There are three common causes:
- The Facebook profile you signed in with is not an admin on that Page. Editor, Moderator, Advertiser, and Analyst roles can read messages but cannot grant Messenger access. Ask the Page admin to run this flow, or have them promote your account to admin first.
- You picked Opt in to current Pages only in Step 3 and forgot to tick this Page. Open facebook.com/settings/business_integrations, find Invent, click View and edit, and add the Page to the granted list. Then reopen the Page dropdown in Invent.
- The Page is already bound to another Invent assistant in your workspace. Disconnect it from the other assistant first, or pick a different Page.
Customers send messages but my assistant never replies
Customers send messages but my assistant never replies
The most common reason is that Messenger is paused on the Page. Open the Page’s settings on Facebook (Page → Settings → Privacy → Public Posts, or Messages depending on your Page version), make sure Messenger is allowed, and that automated responses from previous tools are turned off. Then send a fresh message from your personal account to verify.A second cause is a stale webhook subscription after a Facebook outage. Open Settings → Connections, click Fix (or Edit) on the Messenger connection, then Reconnect inside the dialog, and the webhook resubscribes automatically.
The connection shows an 'Inactive' badge after a while
The connection shows an 'Inactive' badge after a while
Facebook’s access token has expired or was revoked. Common reasons: the admin who originally signed in left the business, the integration was removed from
facebook.com/settings/business_integrations, or the Page was reassigned to a different Business Portfolio. Open Settings → Connections, find the Messenger connection, click Fix (or Edit), then Reconnect inside the dialog to run a short re-authentication flow. Channels bound to that connection start working again as soon as the reconnection finishes.Outbound messages outside 24 hours are being rejected
Outbound messages outside 24 hours are being rejected
Messenger blocks promotional content sent outside the 24-hour window. To re-engage a customer who went quiet for longer than that, your message must fit a Message Tag (such as
POST_PURCHASE_UPDATE or ACCOUNT_UPDATE) and the content must match what that tag allows. Use Broadcasts for tagged outbound at scale, and rely on Auto Follow-ups for in-window re-engagement.The customer's name shows up as 'Messenger User' in the Inbox
The customer's name shows up as 'Messenger User' in the Inbox
Meta hides identifying information for customers who have restricted profile visibility or who interact with the Page through certain regional Messenger entry points. The conversation still works end-to-end; the assistant just does not have a name to use until the customer shares it. You can prompt for it from your Instructions, for example: “If you do not know the customer’s name, ask for it the first time you reply, then save it to memory.”
I want a different agency or partner to manage the same Page
I want a different agency or partner to manage the same Page
Facebook supports multiple integrations on the same Page. Have the partner run their own Messenger connect flow inside their Invent workspace and pick the Page from the dropdown. Bear in mind that only one tool can hold the active Messenger automation at a time per Page, so whichever workspace was the most recent to bind the Page becomes the one that replies. Coordinate with the partner before switching, or split sales and support onto two separate Pages.
Next Steps
Channels Overview
See the universal connection flow that every channel uses
Connections
Manage every authenticated link, including Messenger, in one place
Capabilities
See everything your assistant can send and receive on Messenger
Tracking
Capture referrals from Messenger ads and m.me deep links on every conversation