

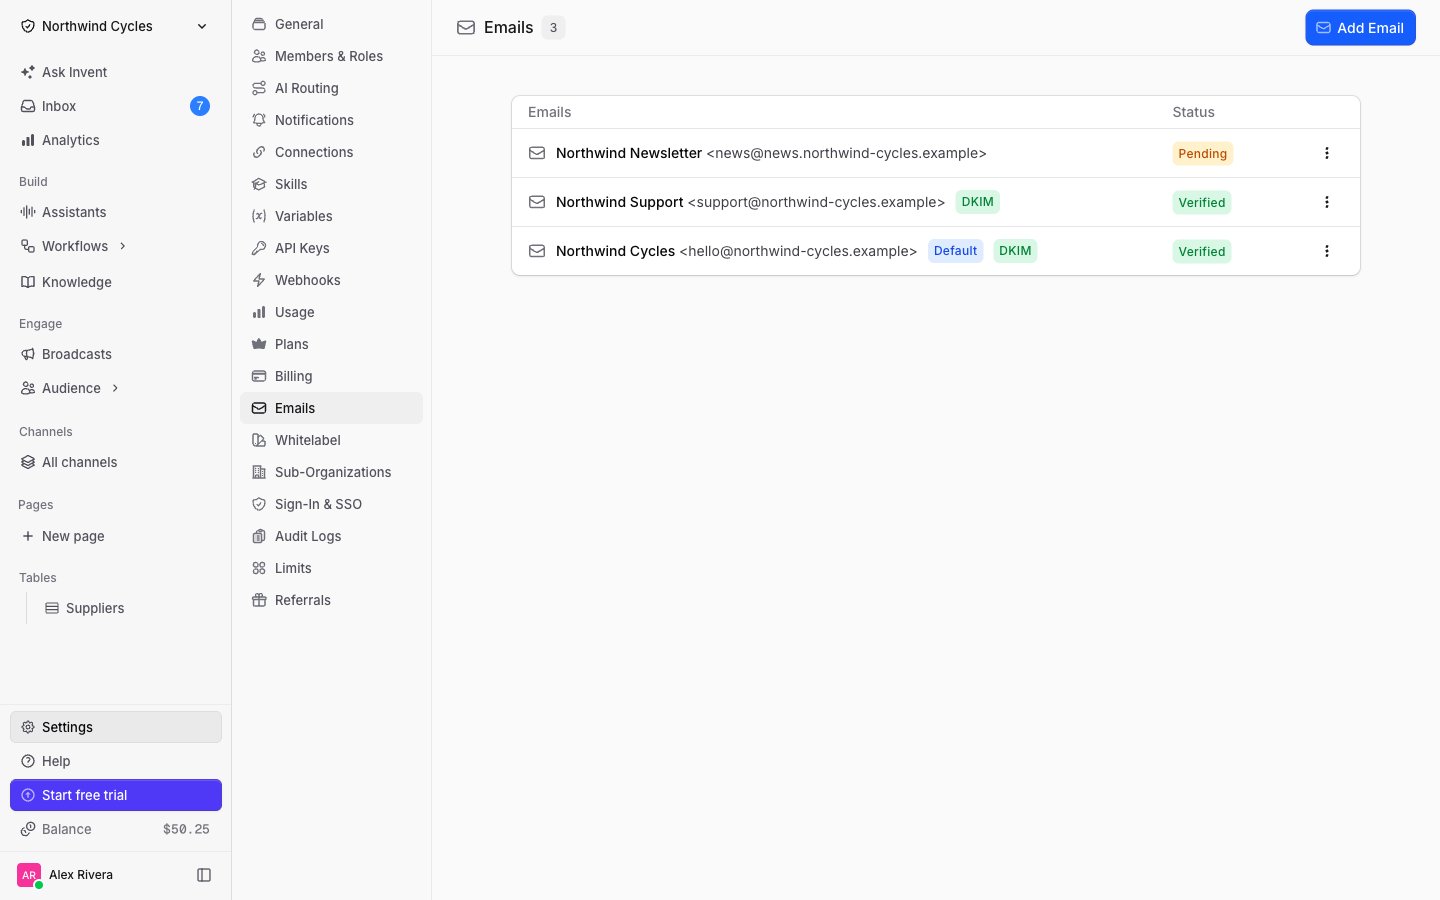
Adding a sender address
1
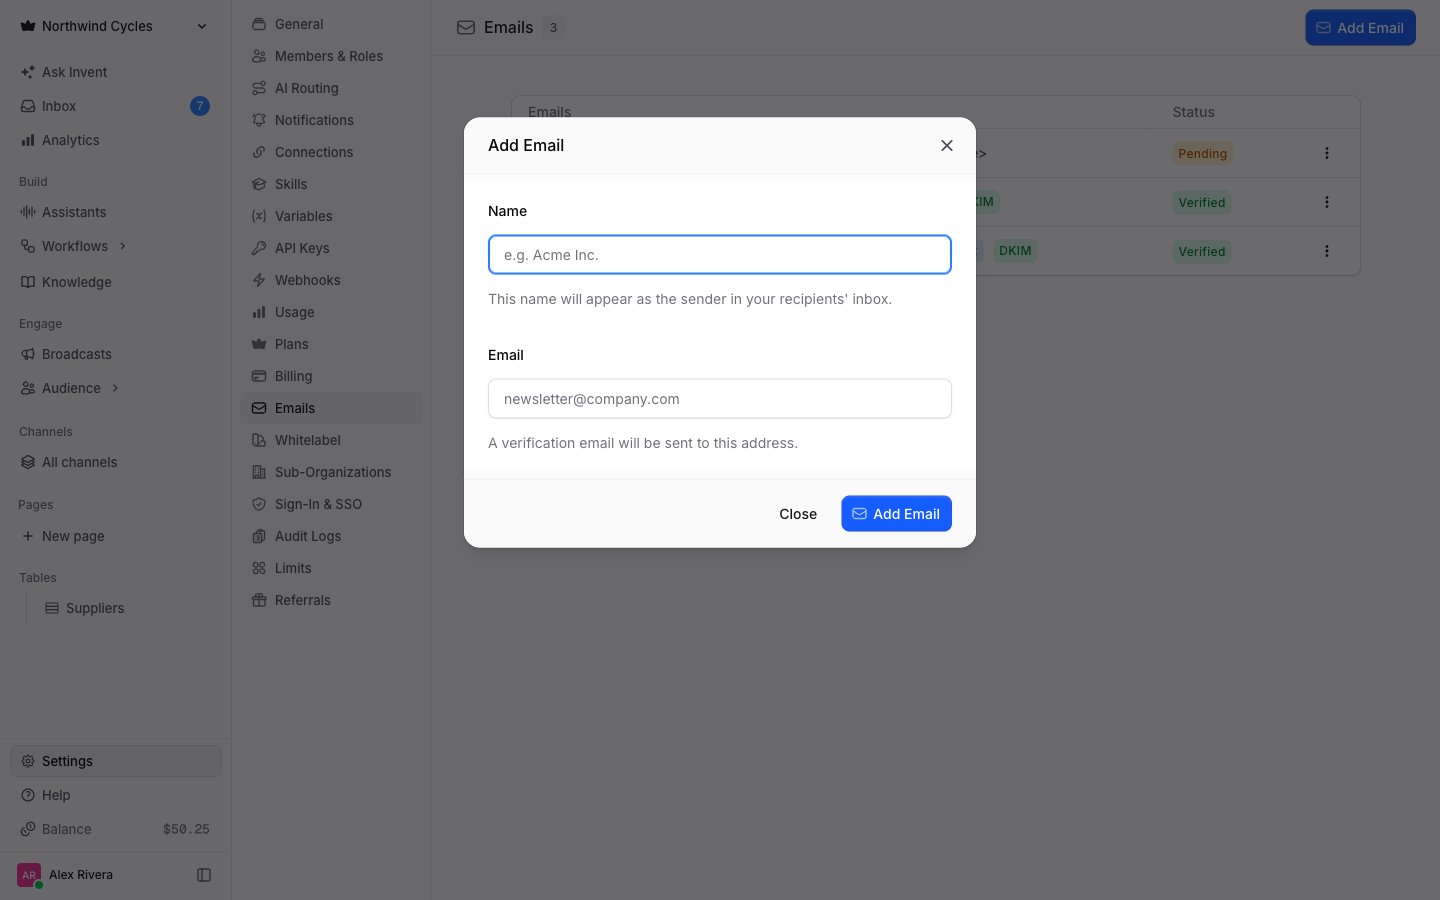
Click Add Email
Enter the name recipients see in their inbox (usually your company or team name) and the address you want to send from.
2
Confirm the verification email
We send a verification email to that address. Open it and follow the link. The address stays Pending until you do.
3
Check the status
Back in the list, the address flips to Verified and is ready to use.
Verifying your domain (DKIM)
Verifying the single address is enough to start sending. Verifying its domain is what makes those emails land in the inbox instead of the spam folder: it lets us sign every message with DKIM on your behalf, so receiving mail servers can prove the mail really came from your domain. Open an address and scroll to Domain Verification.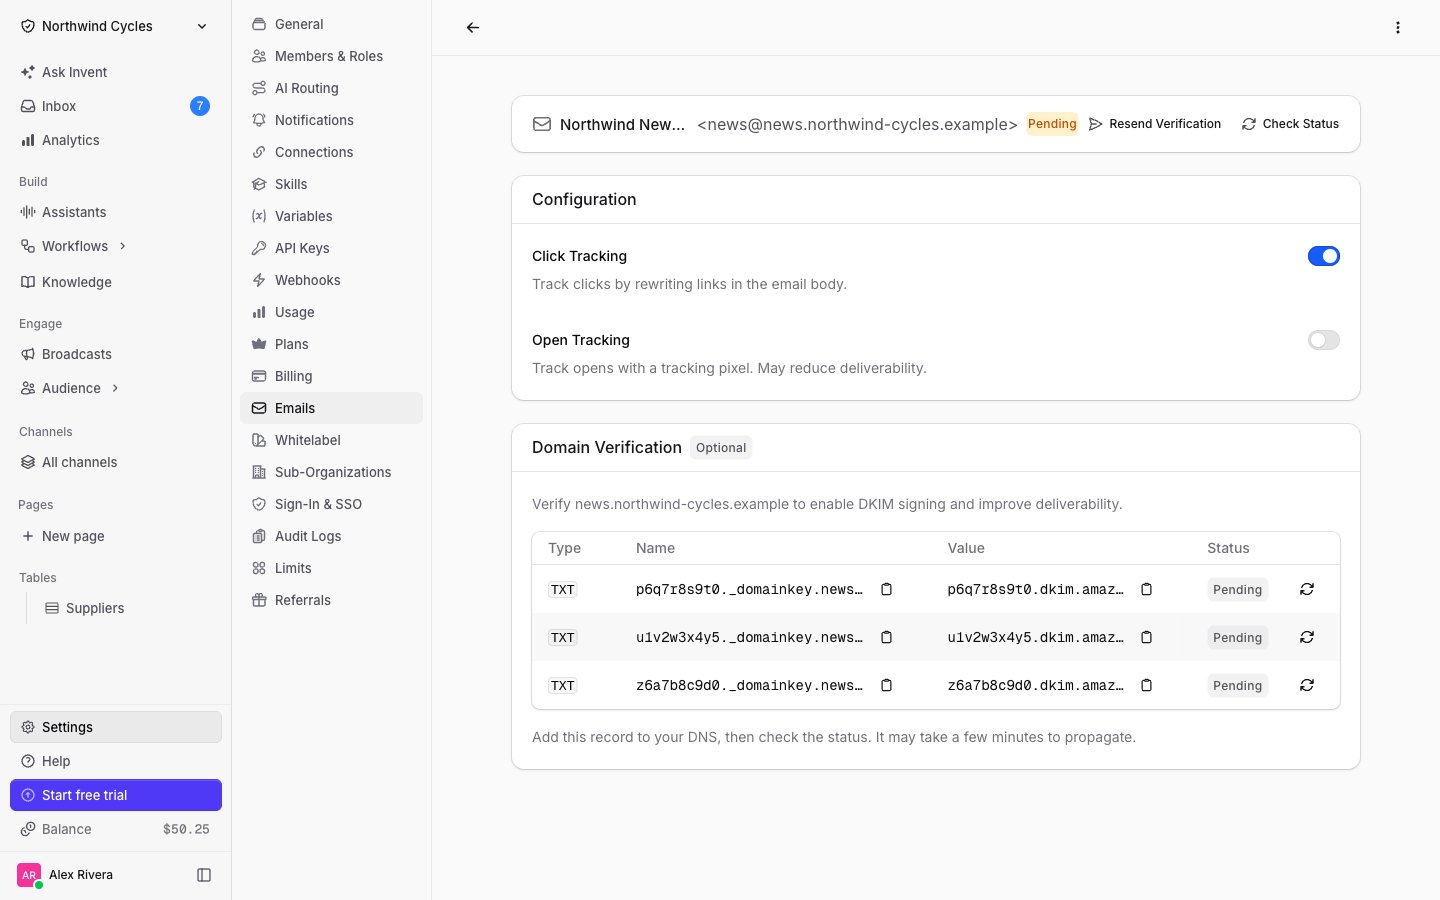
1
Copy the records
Three records are listed with their type, name and value. Copy each one with the button next to it.
2
Add them at your DNS provider
Create the records exactly as shown. If we recognize your DNS provider, a button appears that opens it directly, and for some providers it can add the records for you in one click.
3
Check the status
Use the refresh action next to each record. DNS changes can take a few minutes to propagate, so check again shortly if they still show Pending.
Per-address settings
Open an address to find its Configuration section:
The options menu on each row also lets you rename the sender, set the address as default, or delete it.
Where these addresses are used
- Broadcasts sent over the email channel go out from the address configured on the broadcast.
- Assistants and workflows that send email use the address chosen in their configuration.
- Anything you do not configure explicitly falls back to your default address.
Next Steps
Broadcasts
Send marketing and transactional email to your audience
Suppression List
Keep bounced and opted-out addresses out of every send